So over the last year or two, I got back into vtubers. I like Polka and the translated videos she puts out, but as of late, I’ve been more into Cecilia Immergreen, green woman of Hololive Justice.
Snce the theme for #rsvideojam5 is colors, I thought it would be a good occasion to source her, so that’s the idea I went for.
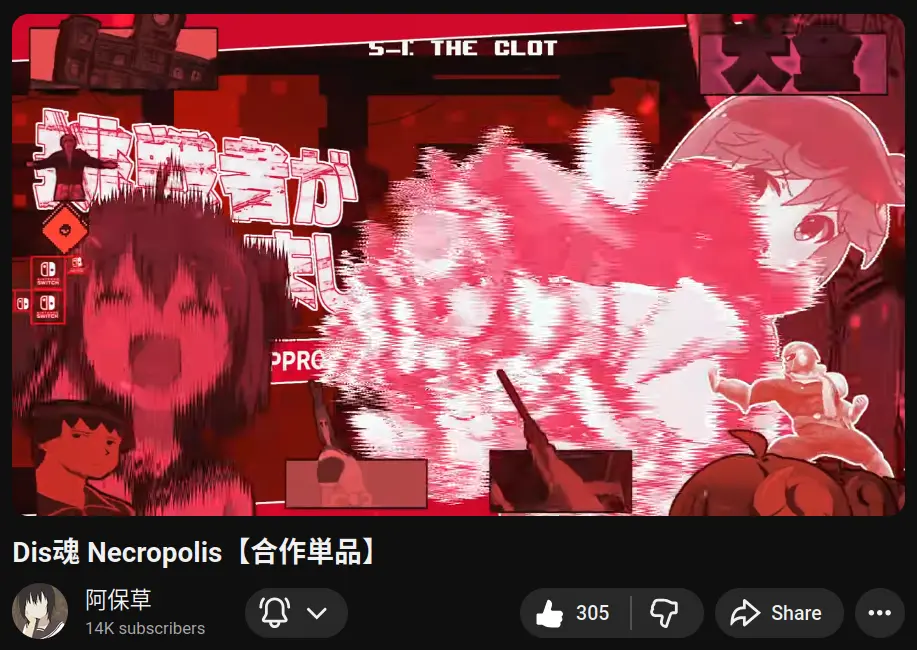
I made this video while I was taking a week-off from work for the sake of my graduation ceremony. I ended up finishing video production a bit after my vacation ended. And this is what I ended up with:
I’ll present things as follows.
I hope that you will take whatever information you’ll find useful out of this article.
Preparation and setup
First things first, we’re talking about streamers, there’s a huge amount of material to go through if you go at it randomly. Thankfully, I knew I was at least looking for lines that mentioned the color green.
There are two scenes that I knew I wanted to include from the very start: the one with IRyS (“I just realized green is in your name”) and the one where they played PEAK and started teasing Cecilia by saying “green is bad”.
I initially joined the Cecilia discord fan server and planned to look around/ask if they had clips referring to cecilia by her color, but as I was discussing the issue with midijunki, he brought up another method I hadn’t thought of.

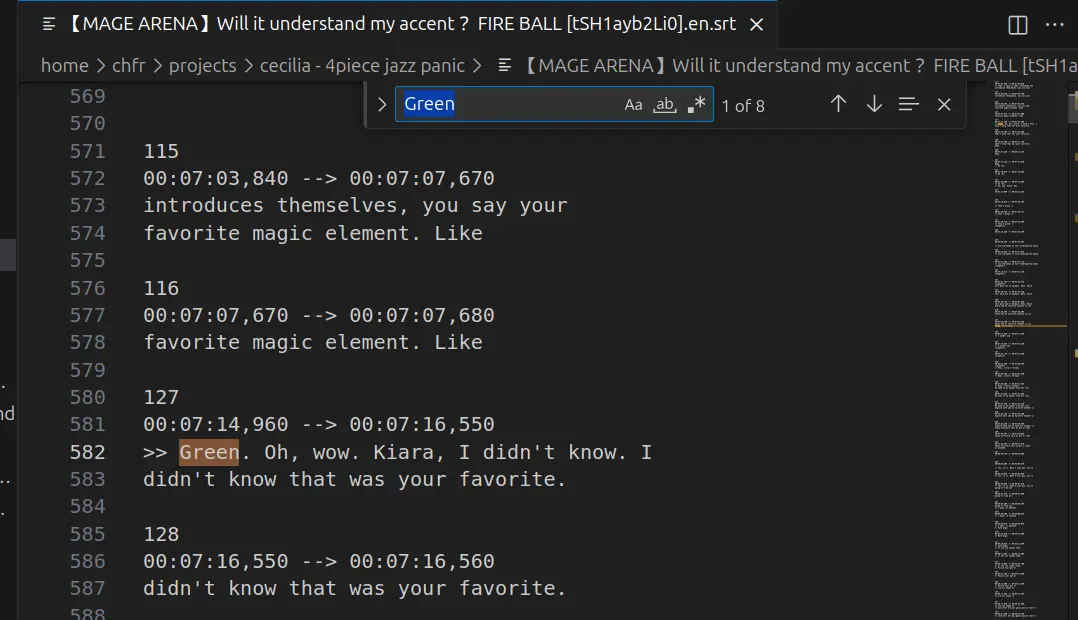
Since she streams in english, I’ll have a much easier time working with Youtube’s auto-generated subtitles.
Ripping the subtitle track is as simple as typing:
yt-dlp --skip-download --write-auto-sub --sub-lang en --convert-subs srt [livestream link]It actually isn’t “as simple” as that, for reasons we don’t care about, you have to define a js engine in order to use yt-dlp, so I have the following alias set up every time I use yt-dlp:
alias yt-dlp='yt-dlp -S proto:https --js-runtimes node --remote-components ejs:github --cookies-from-browser firefox'
As for which stream to look into, I decided to mostly keep to collab streams, since I assumed these would give me a better chance of finding mentions of Cecilia as “green”.
With the timestamped subtitles, I am then able to download just the part of the stream that I need, with commands like:
yt-dlp [livestream] --download-sections "*[XX:XX:XX]-[XX:XX:XX]"The
*is important, otherwise, yt-dlp thinks that you are referring to chapter names and not timestamps.Another argument I should have used is
--force-keyframes-at-cut, not using it meant it downloaded faster as it wasn’t reencoding the video, but this decision would later come back to bite me in the ass.
Since I’m not downloading hours of VOD, it’s possible to just run vocal isolation on every clip I download. So I did just that.
With all the initial clips downloaded and isolated, I could now start on the audio.
Audio
The “Otomad” half
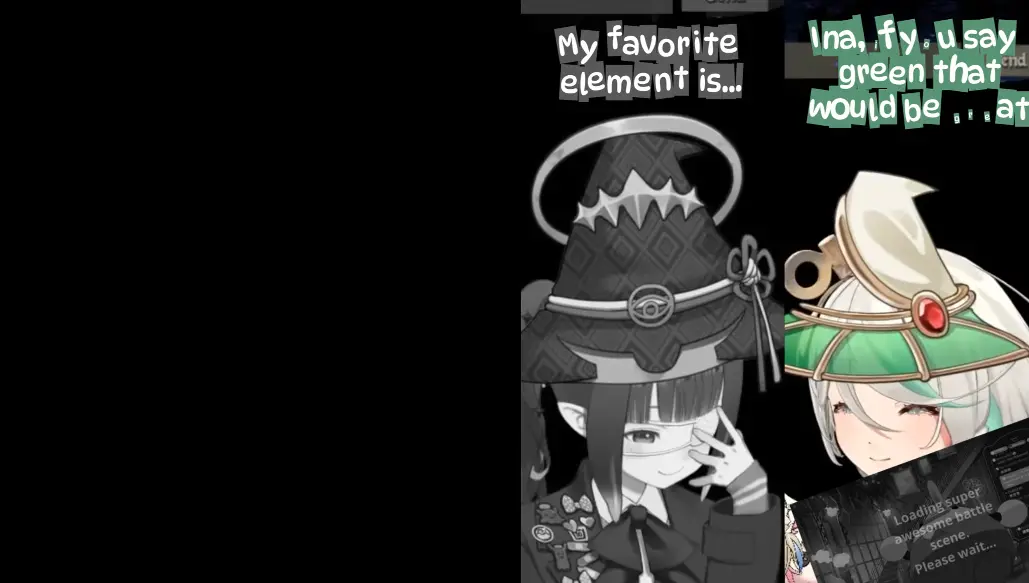
I started with the sentencing section, this project had relatively few re-takes in terms of sentence mixing, aside from one scene, which I replaced a bit later in audio production: I slacking off researching by watching an EnReco montage, and stumbled upon this section. This allowed me to cut the “favorite element” scene’s length by half, as I thought it dragged on for a bit too long.
By the time I started working on the audio, I had already spent a few days brainstorming, so I knew the audio would be split in three parts:
Giant Otomo intro -> random sentencing elements referencing green -> fight scene with giant Otomo.
Last part would not have any sentencing, and I’d think about how much of it I want to cover later.
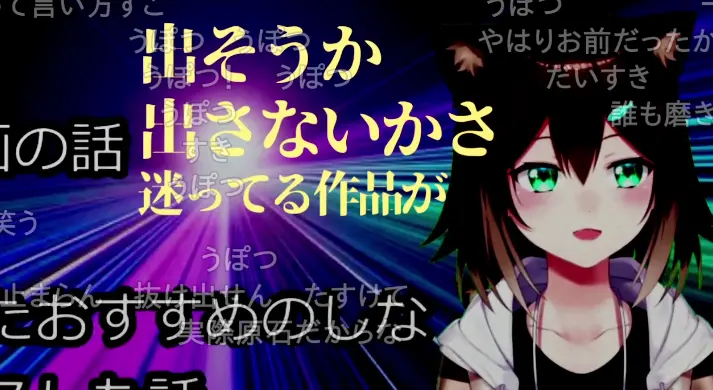
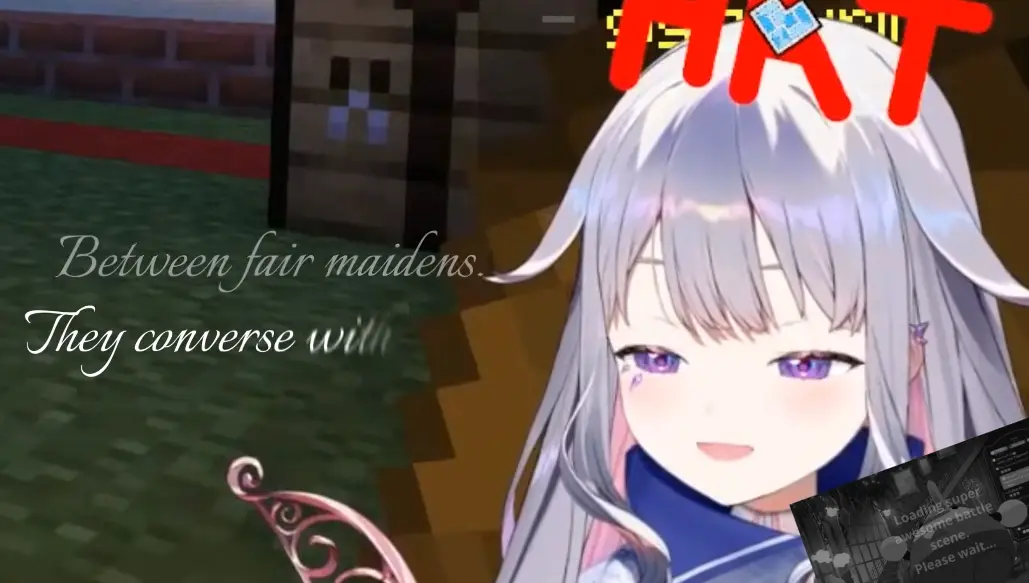
The first part was imagined exactly as you saw in the video, with cecilia highlighting the scuffed and very forced plot development during her birthday live. I felt like it was the perfect piece of dialog to use as a lot of my videos (including this one) have somewhat shoehorned fight scenes.
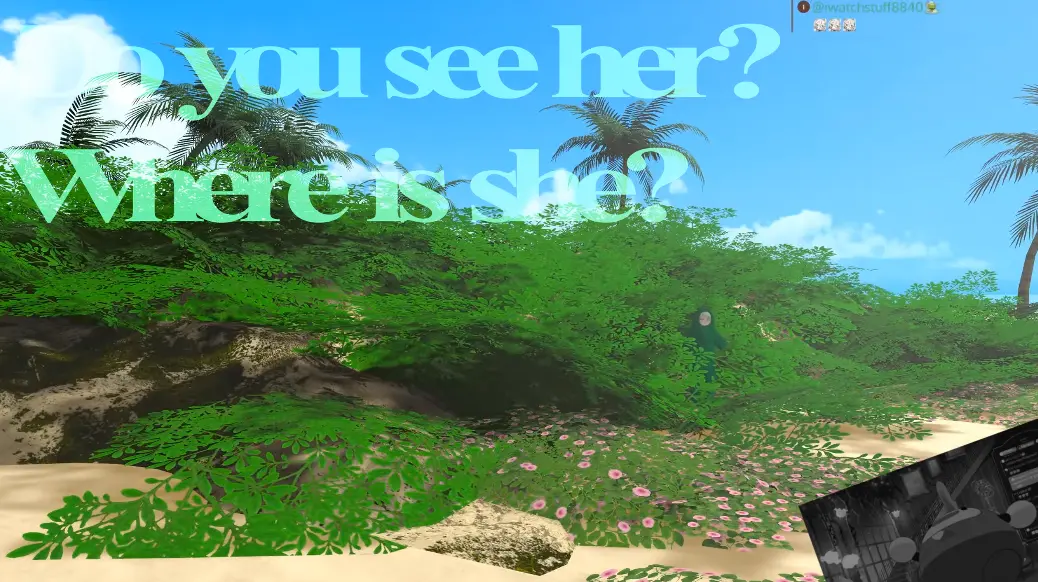
Once the first part ended, I used the Holonatsu Paradise intro, I wanted to have the intentionally-goofy contrast between the “plot development” section and Cecilia (lacking a 3d model at the time) hiding in the bushes with her cucumber-shaped costume.
I already had plans to “pause” the plot development and “resume” it once part 2 ended. I just didn’t know how I would represent it visually at the time.
All I knew is that I wanted to do some sort of clumsy “please wait, the big battle is coming” that STAYS on screen the whole time, so that I could deliver at the end and make people think “wow there really WAS a cool fight scene!”
I kept most of the dialog focused on Cecilia, but when I had to add someone else, I thought it would be best for it to be Ina, since I also had the “favourite elemnt” clip in mind.
The PEAK section right before the clip with IRyS is the one with the most overlapping voices, I didn’t plan to make it too chaotic, but this is what I ended up with when I tried to keep all of the voices in rhythm.
And finally, came the IRyS scene, this was the first scene I brainstormed and what made me start this project, I felt like the buildup of the song matched perfectly with how the scene built up to Cecilia’s dumbfounded “WHAT?!”. And the last line after that is how I “resume” the primary plot.
The “YTPMV” half
During the initial brainstorming, I also knew that I would be doing a respect to 4koma-CatPanic!, and that means: sentencing for one half, and YTPMV cover for the second half.
Now one thing that you might have noticed is that every instrument in this song, just like the title implies, is absolutely fucking frantic!
While I would be able to cover the main melody by ear, there are often times a lot of chords stuck in between, and I’m still not too good with those. Thankfully, the original upload provides the music sheets in the description (on top of having them in the video itself, which I could have used in the worst case scenario).
Oops, the link is dead.
So I have the music sheets as PDF files, all I need to do is retranscribe them in REAPER, right?
I mean, how hard could this be?
…
…
Well as it turns out… it really wasn’t that hard to be honest. It’s just a bit long and tedious, but all the tools are there. And once the MIDI is done, I have a script to turn it into empty REAPER items and change the media source.
You can switch REAPER’s midi editor to display as a music sheet, and then once you get used to how the notes translate to the staff, it’s just a matter of reading and replicating basic music notation (which isn’t that hard to learn either).
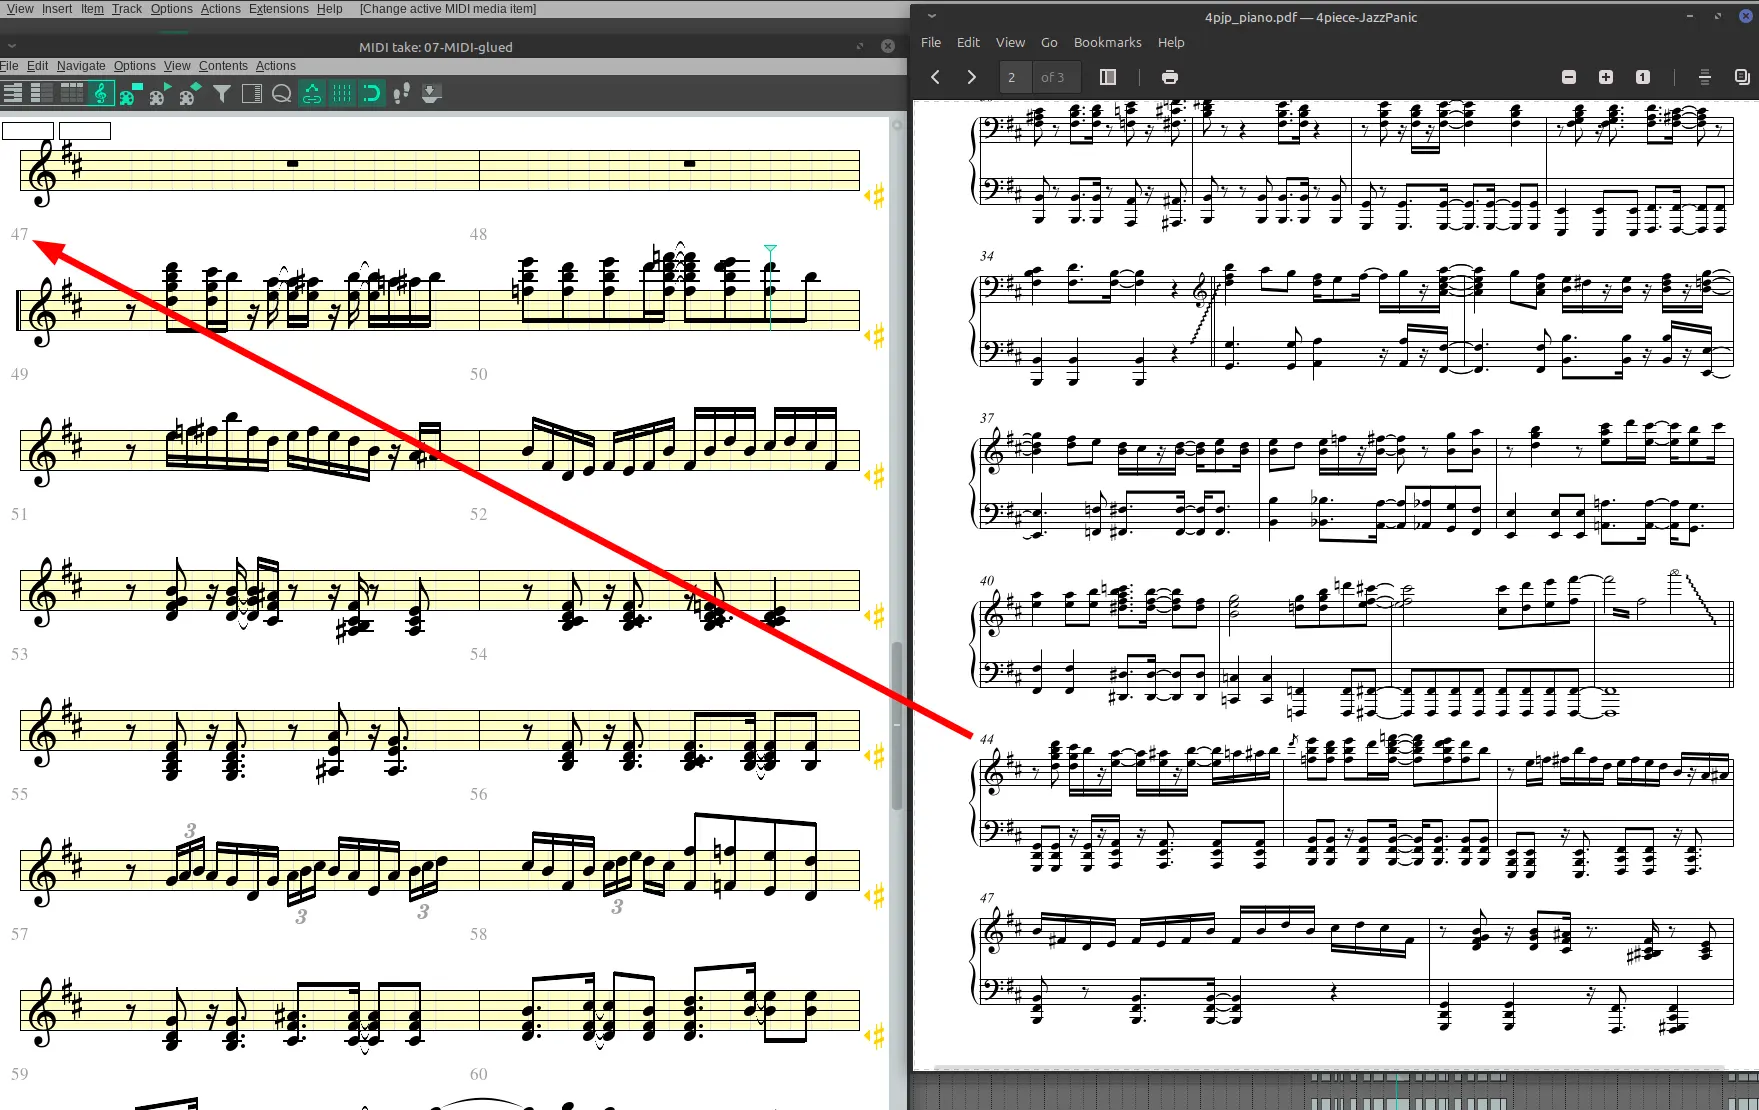
The reason why it’s 47 on my end is because I have added 3 empty measures before the BGM starts, as I wanted the song to really begin with “Remember the giant Otomo?”.
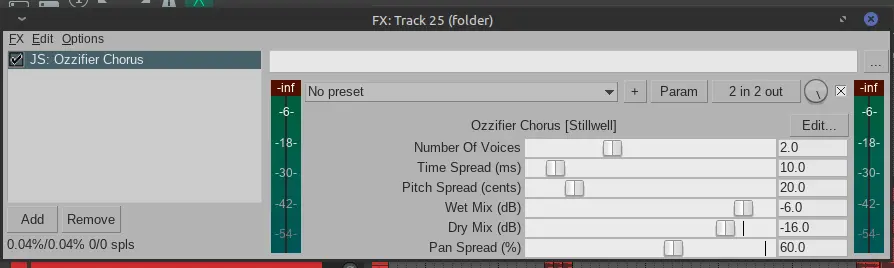
One cool thing about this song is how the lead melody keeps being passed around between the piano and the organ, in order to better micro-manage them, I made sure to separate each instruments when they’re in “lead” mode vs “backing” mode. “Backing” mode also has a simple ozzifier chorus to spread it a lot more on the stereo.
I tend to fall short on the YTPMV side of things, my sample selection basically boils down to “the first thing I find that sounds decent” and that’s it. Aside from that, I’ve been using this video for some of the drums (it’s kinda cheating because the percussions are definitely not from a stream). And for the crash, I eventually settled for a sneeze compilation.
Honestly, I just have trouble making an interesting-sounding cover, so I put most of my effort in sentence-mixing.
My vocal processing stack looks like this:
This is on the main sentencing parent track.
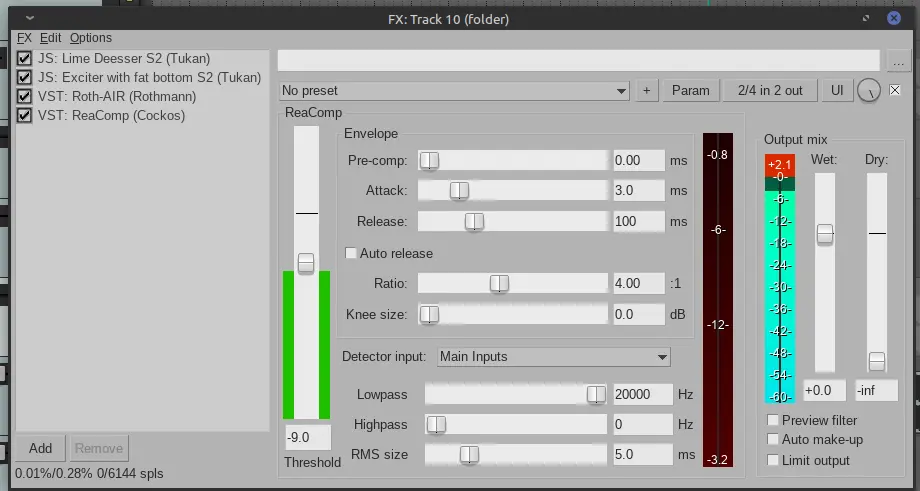
Maybe exciter + Roth AIR is a bit overkill? I kinda like to lift the highs as bit.
I then also send this track to the ever-reliable vocal fattining track for manufacturing stereo breadth.
And finally, I have a track a dedicated “echo-send” track for every instance of “green” as well as for extra impact on the “what?!”
That’s about it for the audio (I think).
Visuals
Retribution for laziness
So, when I do a sentence-heavy project, my first move after the audio is usually to create a copy of the save file, and replace all my voice-isolated takes with the original video takes. I may do some additional stuff such as rearranging the takes on new tracks if I need some to overlap, I also use a small script from X-Raym to expand the takes and fill any gap to avoid blank frames. Then I can render each track separately, and use that in Fusion.
But remember when I said I downloaded the stream clips without using the --force-keyframes-at-cut flag? Well because of this, I ended up with slightly esoteric video files, where the audio output and video output didn’t start at the same time.
The best way I can put it is: when the video is imported in reaper, it starts at a certain point, but when I ran vocal isolation on it, it read the video differently and created a slight offset. So when I replaced the vocal-isolated source with the original video source, it displayed things at a small time offset.
This can’t be easily solved, even though you can change the time offset of many takes at once with alt+drag on your selection, this offset is being affected by the rate of each item. So if one item has a rate of 1, and another 0.5, moving both 1 second forward will only move the second item 0.5 second.
TLDR: I needed to globally apply an offset to every sentencing item for each source respectively, and the offset varied from source to source.
This would have meant a lot of manual tweaking, but thankfully, it was easy enough to make script that adjusts the offset of a whole selection of items, as I had been previously working on other unrelated scripts that messed around with items.
It wasn’t too much of a pain to do that for each different scene, since there weren’t too many of them.
And now, I could take care of the actual video editing.
The first half
In actuality, the order in which I did things went more like: draw and animate most stuff -> sentence mixing editing -> composite the animation -> add some missing sentence mixing part -> last part of the animation -> final polish. But to make things easier to follow, I will discuss the video chronologically.
For the most part, there is little of note with regards to the first half of the video, I tried to add slightly-decorated text and slightly animate it in order to have a bare minimum of effort in my visuals. There are still a few things I can talk about though.
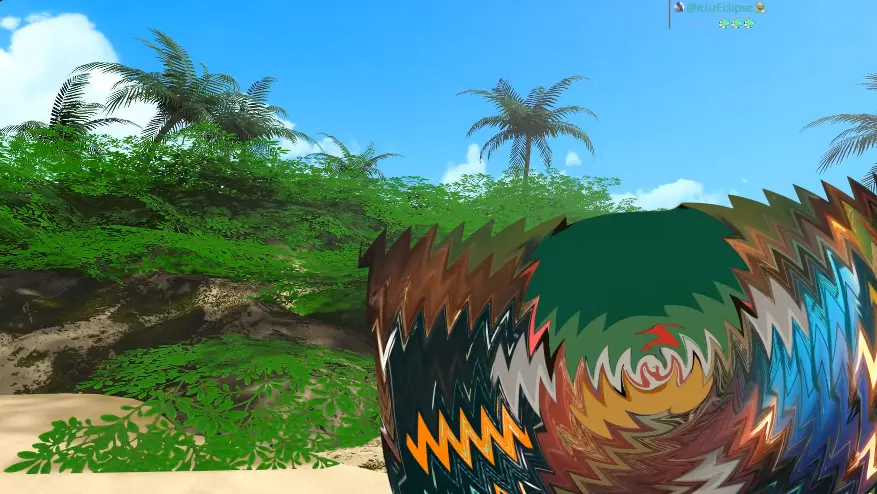
Circular spin smears: revisited
A trend that has been showing up a lot in recent otomad visuals is the idea of a distortion-smear: rather than using motion blur, speed is expressed by applying a jagged wave distortion to your videos.
Here are some examples:
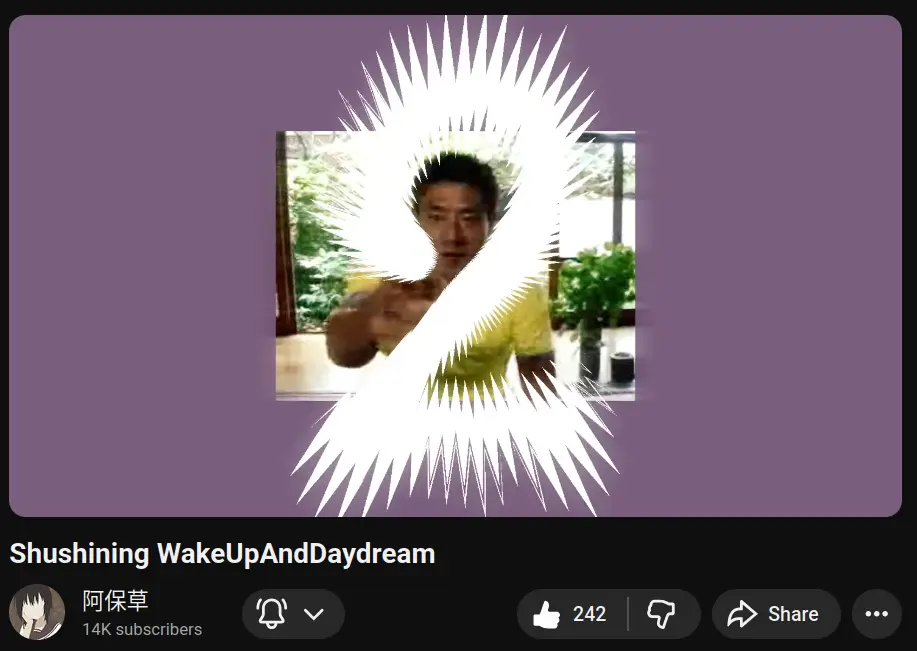
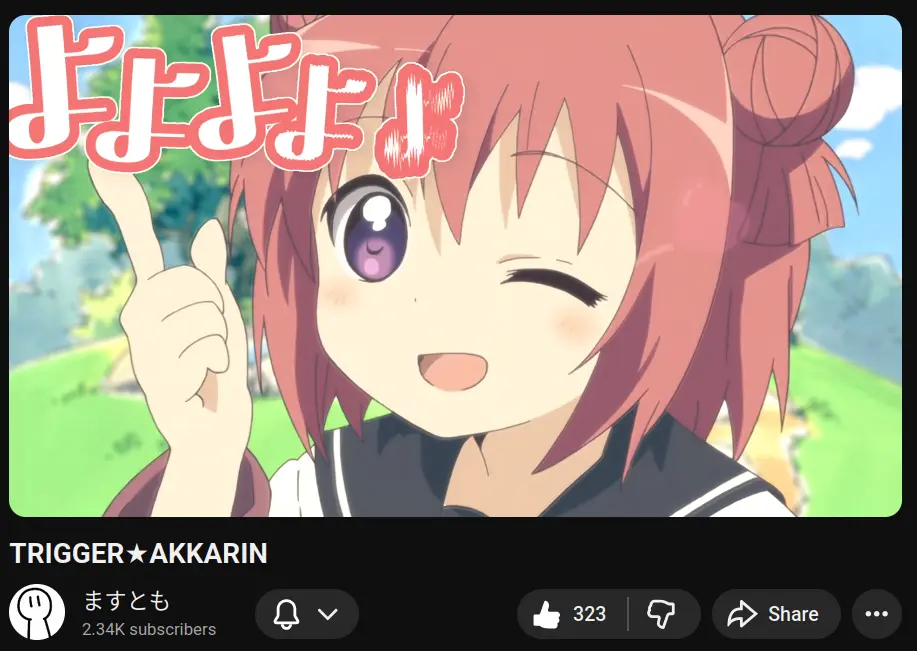
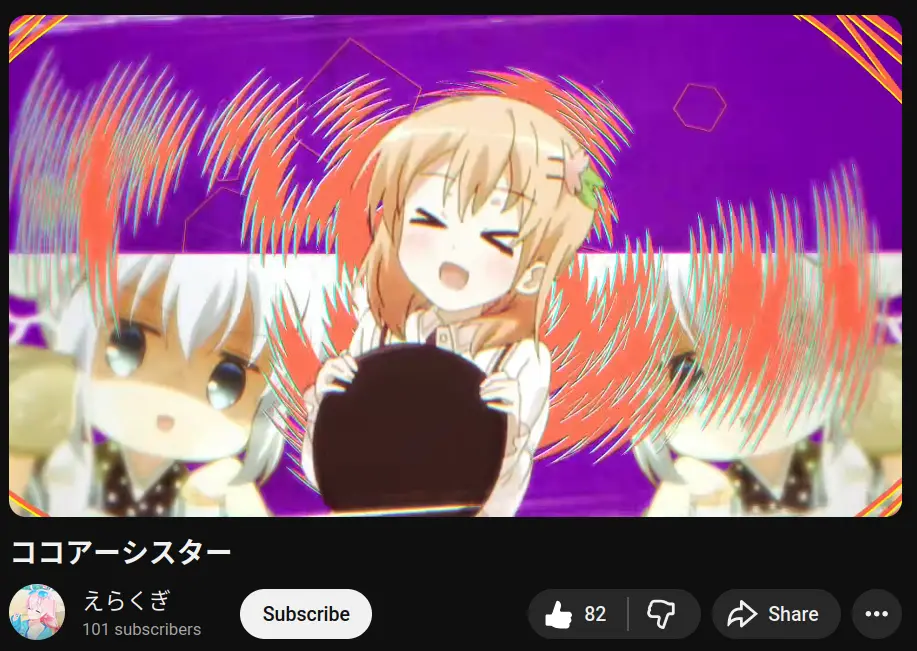
You could get away with just using a wave warp for when the effect is just directional, but things get a bit tougher when you want to do a radial smear, especially a spin-smear (zoom is easier).
My first attempt to do this in fusion was by applying, polar coordinates, doing a regular directional wave warp, and then canceling the polar coordinates.
This offered some amount of control, and I used it in Otsumami Funk.
This method, though, has a few issues. For one, it can be a bit costly; secondly, I can’t move the pivot around with complete freedom; and finally, switching from polar to rectangle coordinates can be pretty harsh on the resolution, as a lot of information is lost the higher you go in the image with polar coordinates.
You can see how blurry the video gets the moment I enable the nodes for the spin smear.
A few months later, I came up with a much better solution that avoided polar coordinate translations entirely. As it turns out, thanks to Fusion’s good handling of radial and circular gradients, it is possible to intuitively build a radial displacement map based on a center point that can be moved anywhere on the screen.
Using a custom tool (a tool in Fusion that lets you write simple shader), I was able to simplify the node tree by a lot, I could then save it as a macro.
And thanks to that, I am now able to have much nicer, more flexible and more performant spin smears in my videos.
Fonts and styling
As I said earlier, most of my work on that first half was spent getting something “just decent enough”. In the Holonatsu scene, I paid a little tribute to the way the styling was done in 4koma-CatPanic!, meaning: a flat colored serif font that appears without any movement.
One good thing about the Text+ tool in Fusion is that it has very extensive styling. You can easily add multiple fills, strokes, rectangle borders, drop shadows, glows, etc… without any extra node.

Aside from the little anecdote about how I found this scene from a clip while slacking off, there’s nothing to say about this scene.
In this scene, I had to manually “randomize” the character rotations because I was already using a follower modifier to make them appear. The big issue with the Text+ tool is that, while you can use the follower modifier as a wiggle modifier, you can’t freeze the randomization in time. Because I couldn’t make the pop-up animation and randomization simultaneously, I had to “manually” randomize the position and rotation a tiny bit for each letter using character-level-styling.
I’m actually very happy with how this scene turned out so here it is for you to watch a second time, hope you don’t mind.
When making the audio I had absolutely no idea of what visuals I would make for this section, so I just kinda went with the flow to make a faux-chaotic scene. One thing that I used a lot of was “one-framer” transitions, instead of easing something from scale 0 to 1, I use hold keyframes to have one intermediary state that lasts from one two to frames, and then the full size video. If during this one framer, the ratio is not 1:1, then it helps add a bit of bounciness
The last scene of the first half has literally nothing to comment on, so I’ll skip it. I guess one comment I could make is that I was forced to flip it because they were being hidden by the video I’m keeping on the bottom right.
The second half
That’s the part with the animations. Here too, I had a lot of time during the trip to and from my graduation ceremony to brainstorm what I would be doing. So I had a fairly solid idea of the composition for most of the scenes before I even started drawing.
The animation was done on Krita, over 3 separate files, I did not want to do one file per scene because it seemed like a pain, but I still had to split things a little because the Krita files would become a bit unstable as they grew.
While animation is more comfortable with one hand on the keyboard, the more detailed illustrations were done with IbisPaint on my tablet, as I’ve become more comfortable drawing on it (and my drawing tablet is screenless so that’s an extra debuff).
I kept the whole animation black and white despite my entry being for “green” for a few reasons:
- I feel like the previous half has done a lot of greenery already
- I wanted to directly respect 4koma-CatPanic!
- I would have died if I had to add colors on top of everything
I won’t focus too much on the technicalities since most of the work was done in krita (although Fusion did a lot of heavy lifting for the last scenes), so instead, I’ll focus on some tidbits and references.
The first scene is a reference to Ultra Trailer.
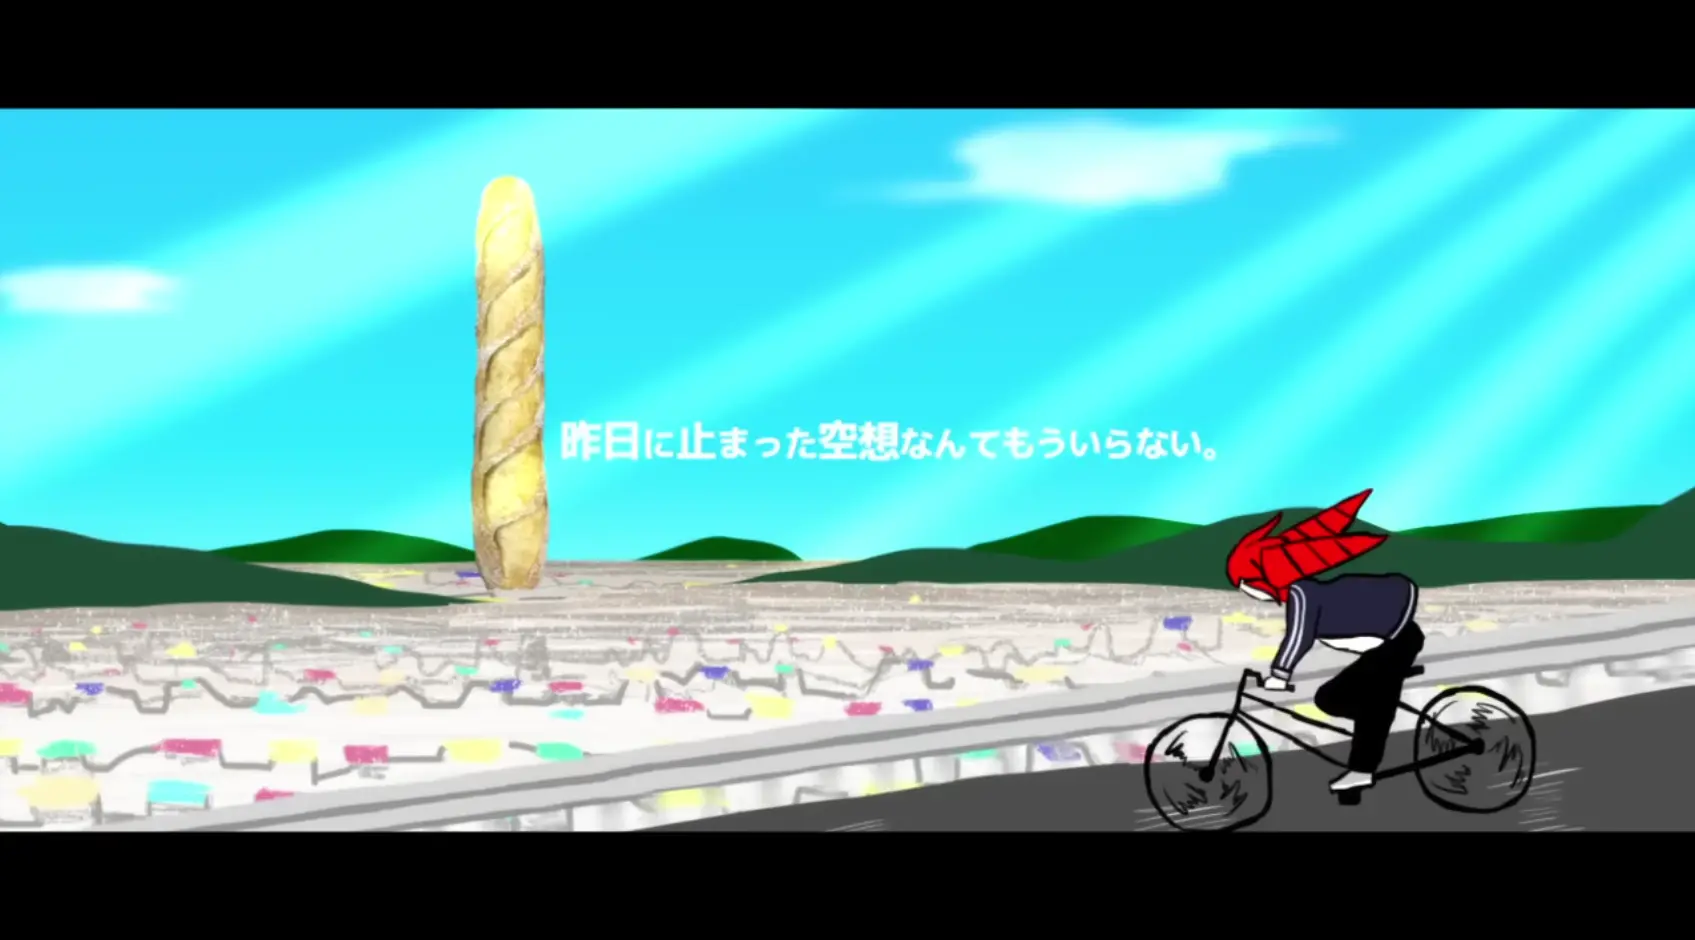
I went for the same composition (though a bit more zoomed in) as I wanted to give a sense of vastness to the city (while giant Otomo was godzilla-ing around).
Next scene is a reference to Cecilia’s debut live, where she crashes almost immediately upon driving a car.
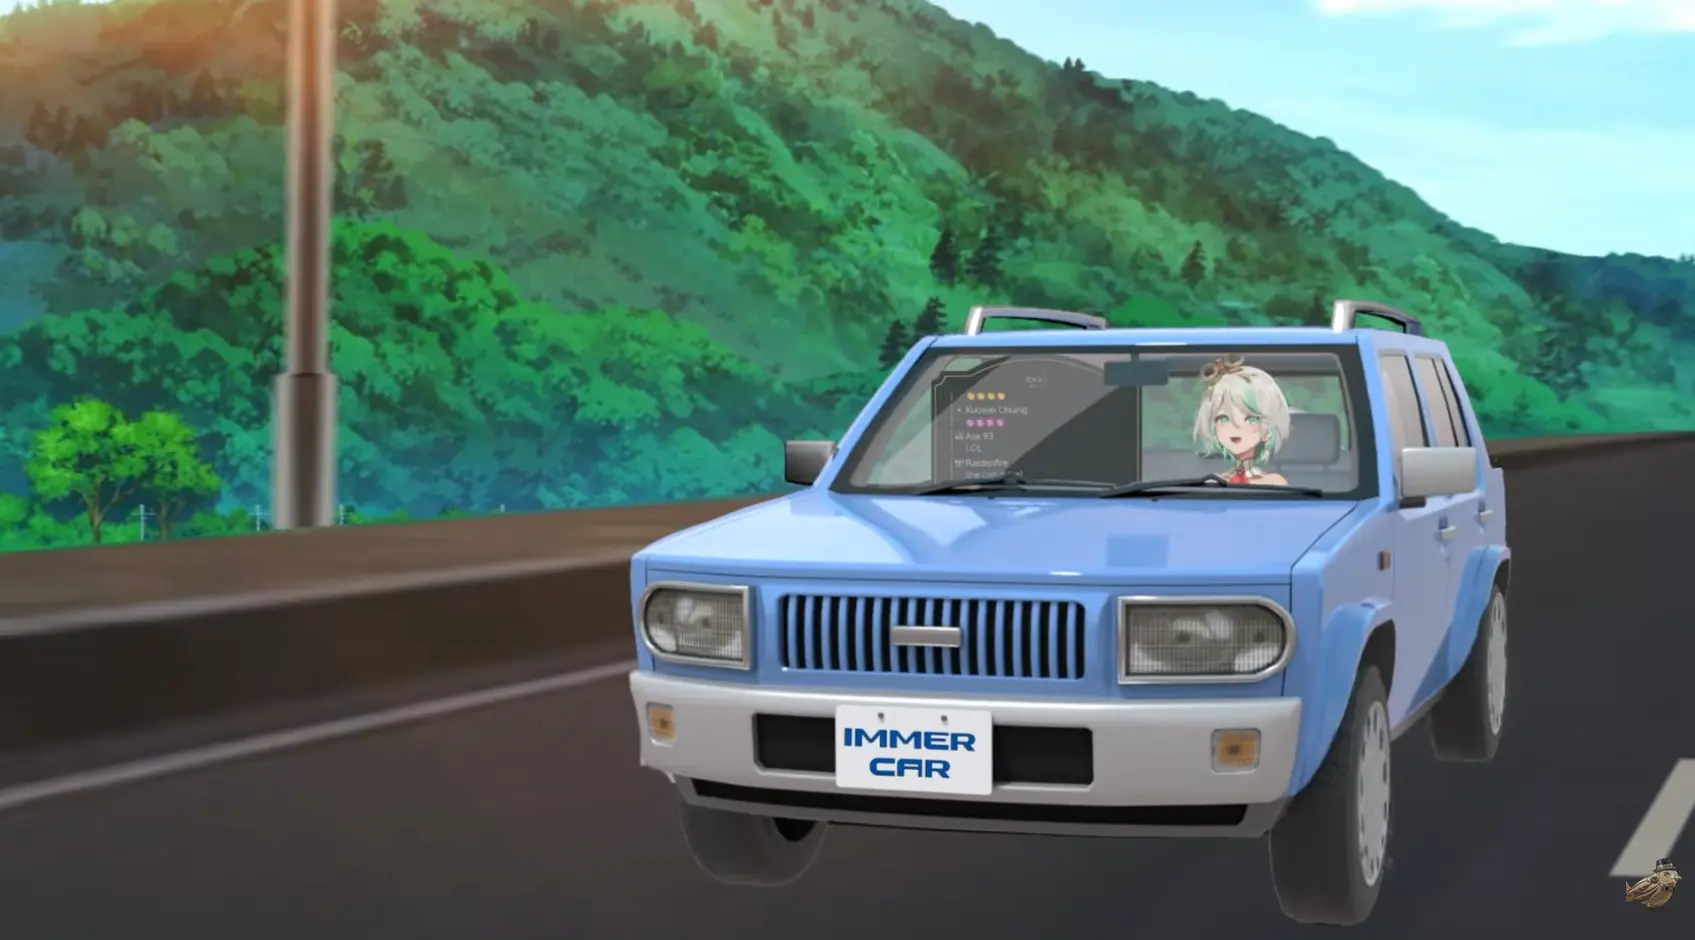
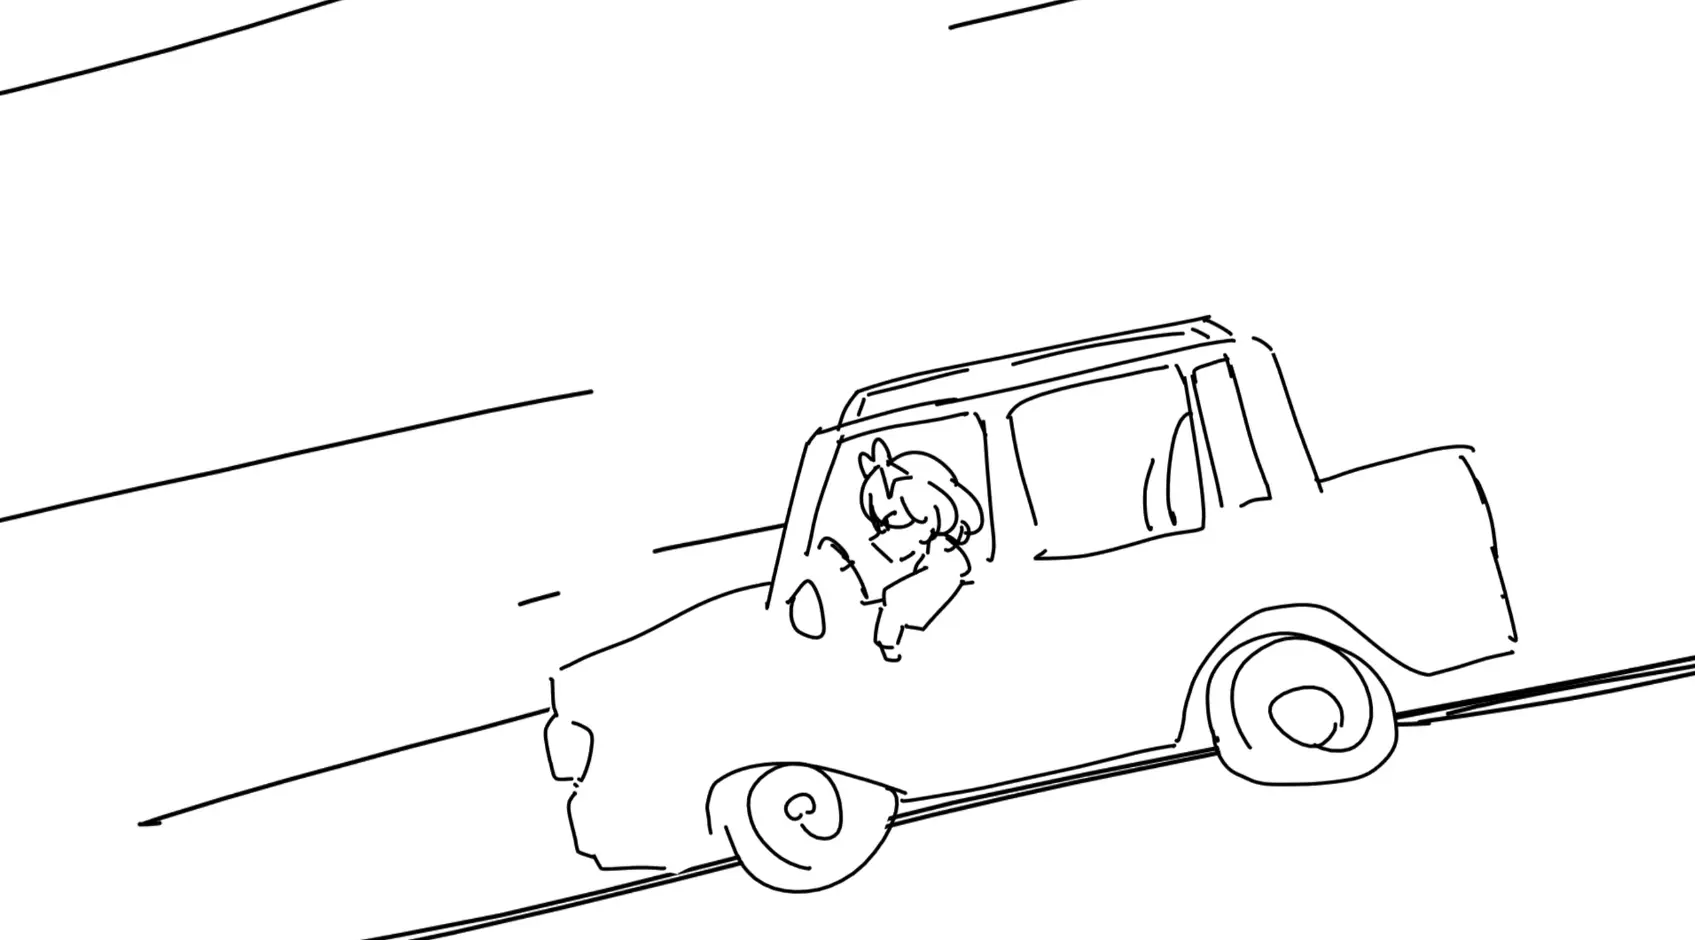
I’m a bit bothered by how hard it is to notice the screen shake when the car goes out of frame and crashes, but I couldn’t really think of a good way to make it better.
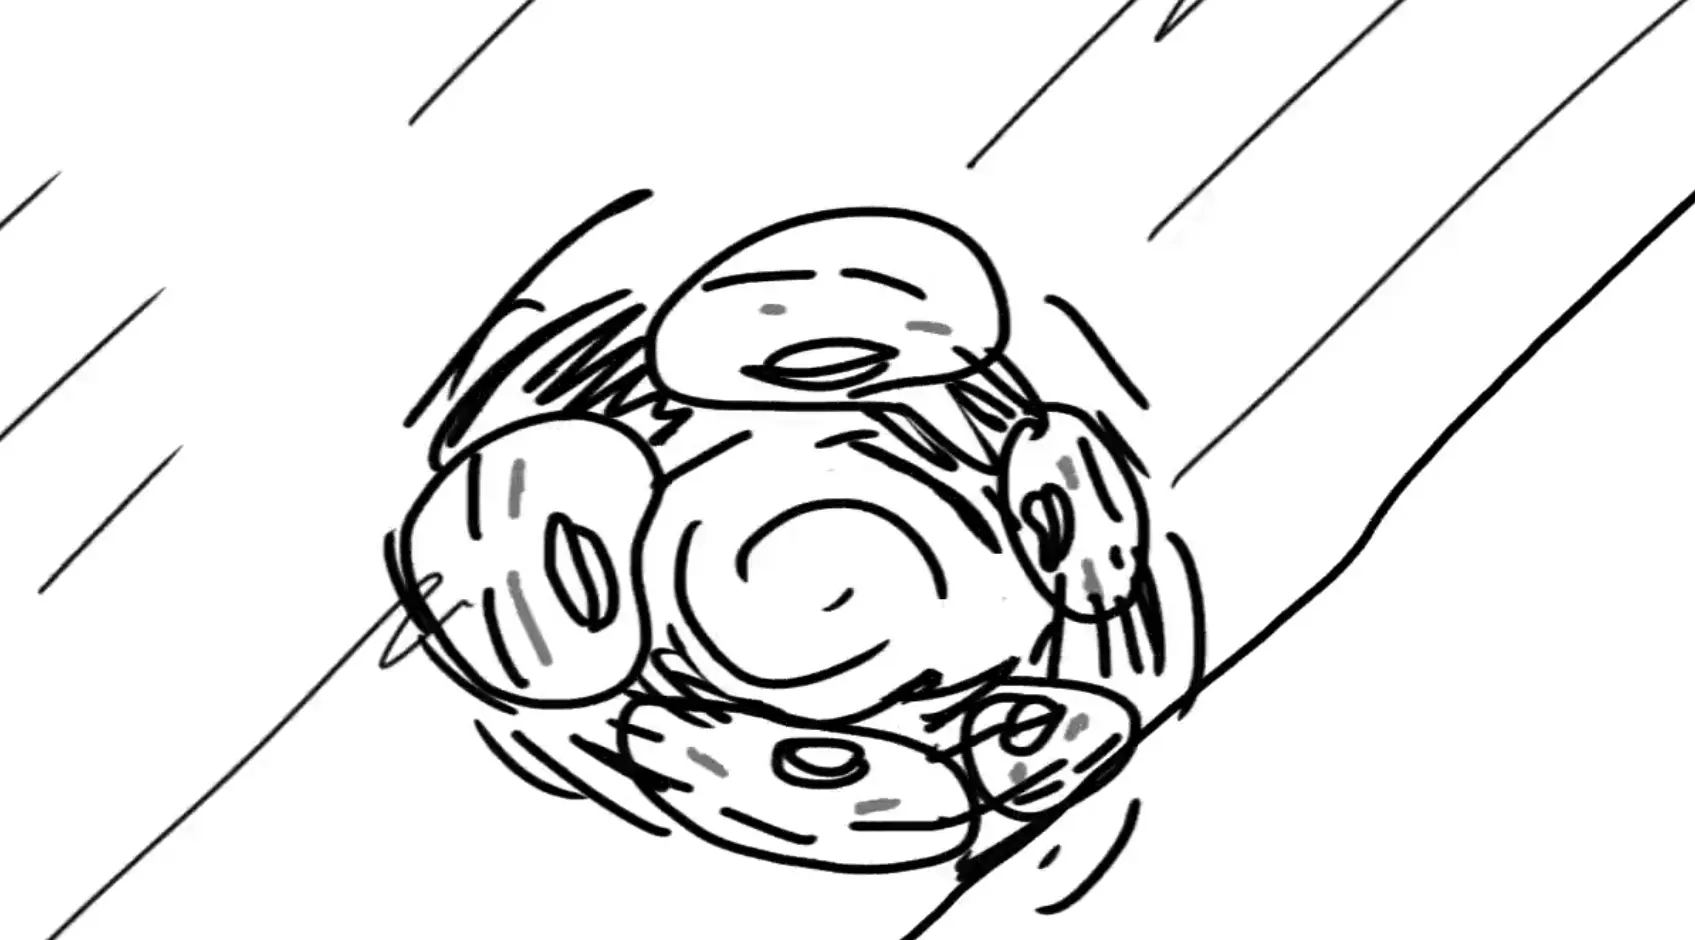
The way cecilia rolls around is a very direct reference to 4koma-CatPanic!

The scene with the map right after is not inspired by much of anything, I just wanted to show Cecilia picking up Updatilia and Immergold, and both of them getting distracted by a PUB. I first thought about her “splitting” in different characters and regrouping later but opted against as it might feel a bit too confusing.
One Fusion tidbit about this is that I had to copy the transform path between the cecilia icon, and then invert the transformation for the final comp containing everything, so that it would feel like the view is “following” her. But the thing about fusion Transform nodes is that there is no “influence” or “multiplier” to the global transform. This is something that Autograph had, and it made things like parallax or inverting transforms fairly easy. But at least, path animations are modifiers and can be transformed, this meant that I could share paths, and invert them by simply scaling the paths by -1.
The scene right after, with cecilia grinding to a halt and the view changing to a bottom-up view of giant Otomo, was not planned, I had to fill in that blank and it was the best I came up with. Another alternative was to have her wait in front of an elevator, get irritated, and choose the stairs instead (which leads to the next scene).
I’m not particularly happy with the way she stands back up after slowing down, but I couldn’t dwell on it too much as I wanted to finish this video soon (I basically had just 1 or 2 days off left, and felt like it would suck to go back to work without having finished the video).
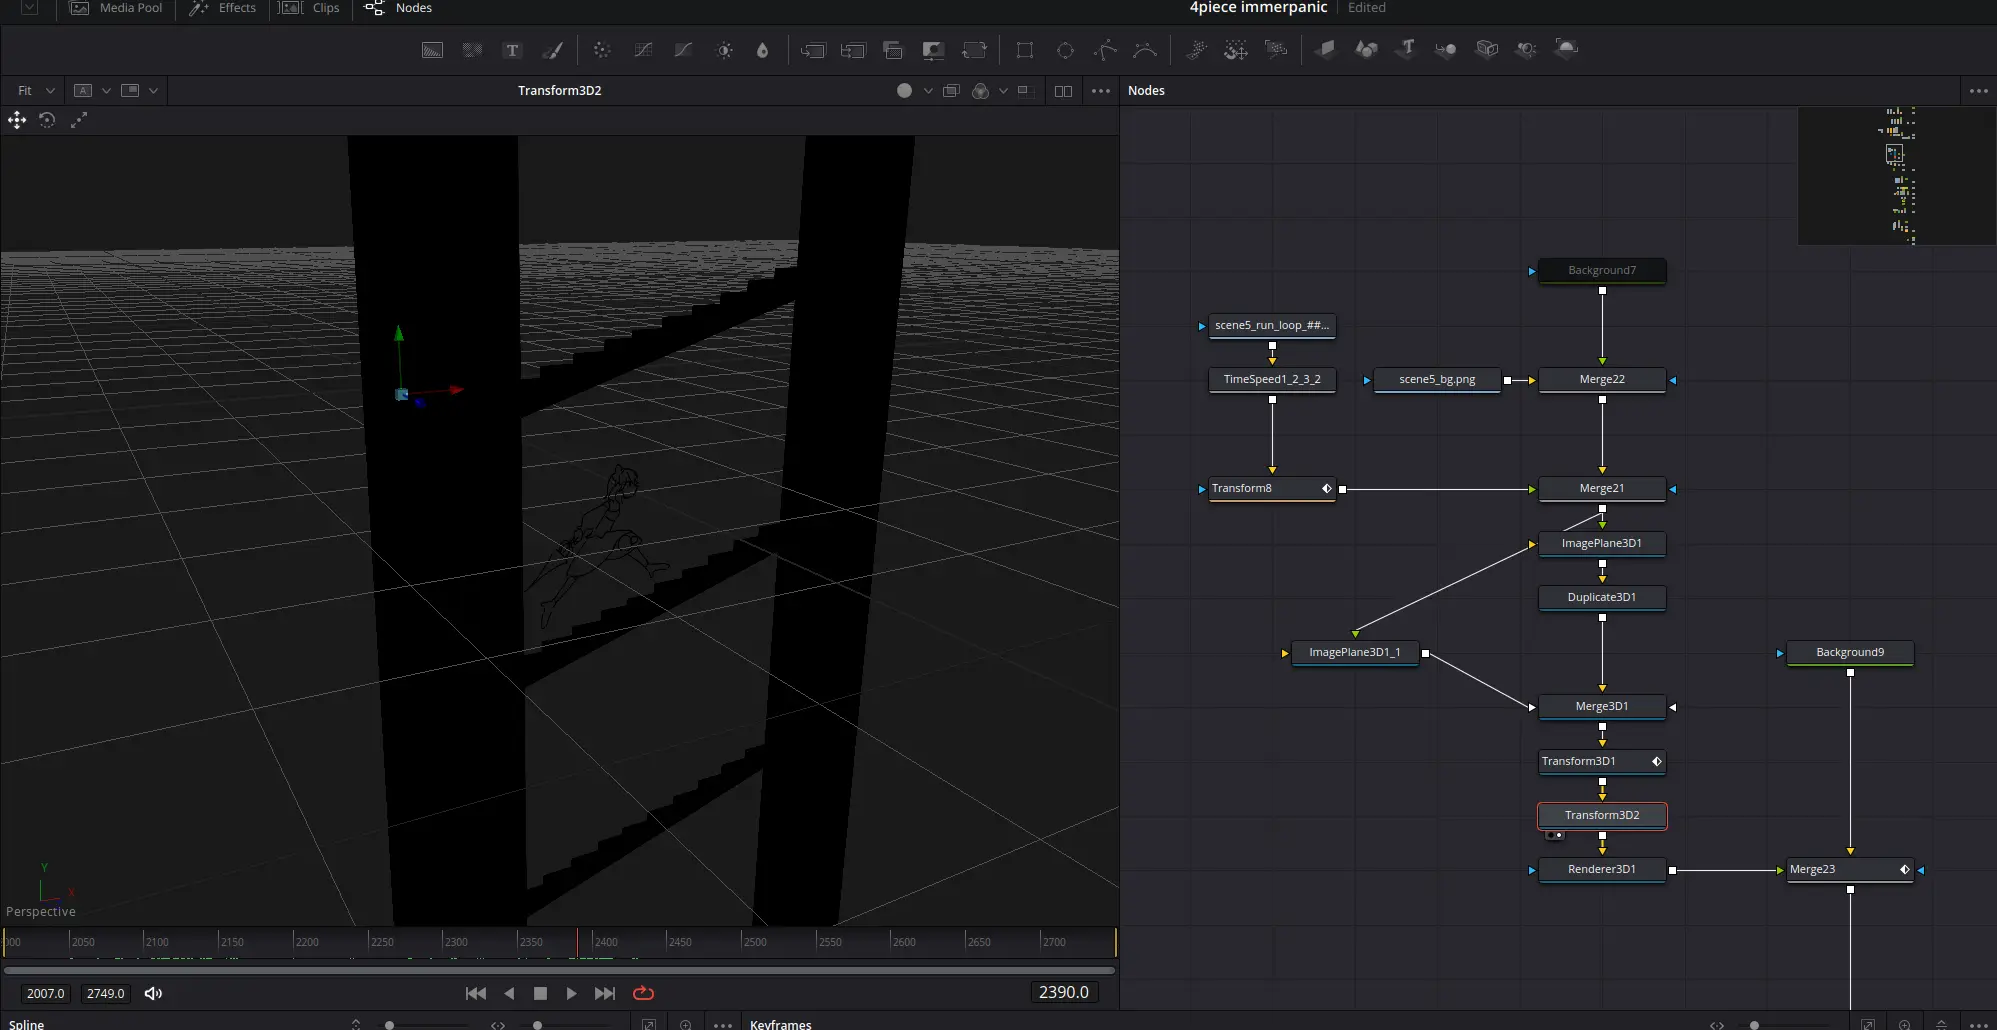
For the next scene, I drew cecilia running up just one flight of stairs, then duplicated it with a time offset in fusion’s 3d environment.
I’m also pretty happy with the right-pan transition as she bursts through the door.
I wasn’t really sure how well the sequences with the falling water tank would flow together when I was drawing them, I felt like it would feel a bit too disjointed, but it turned out surprisingly fine too.
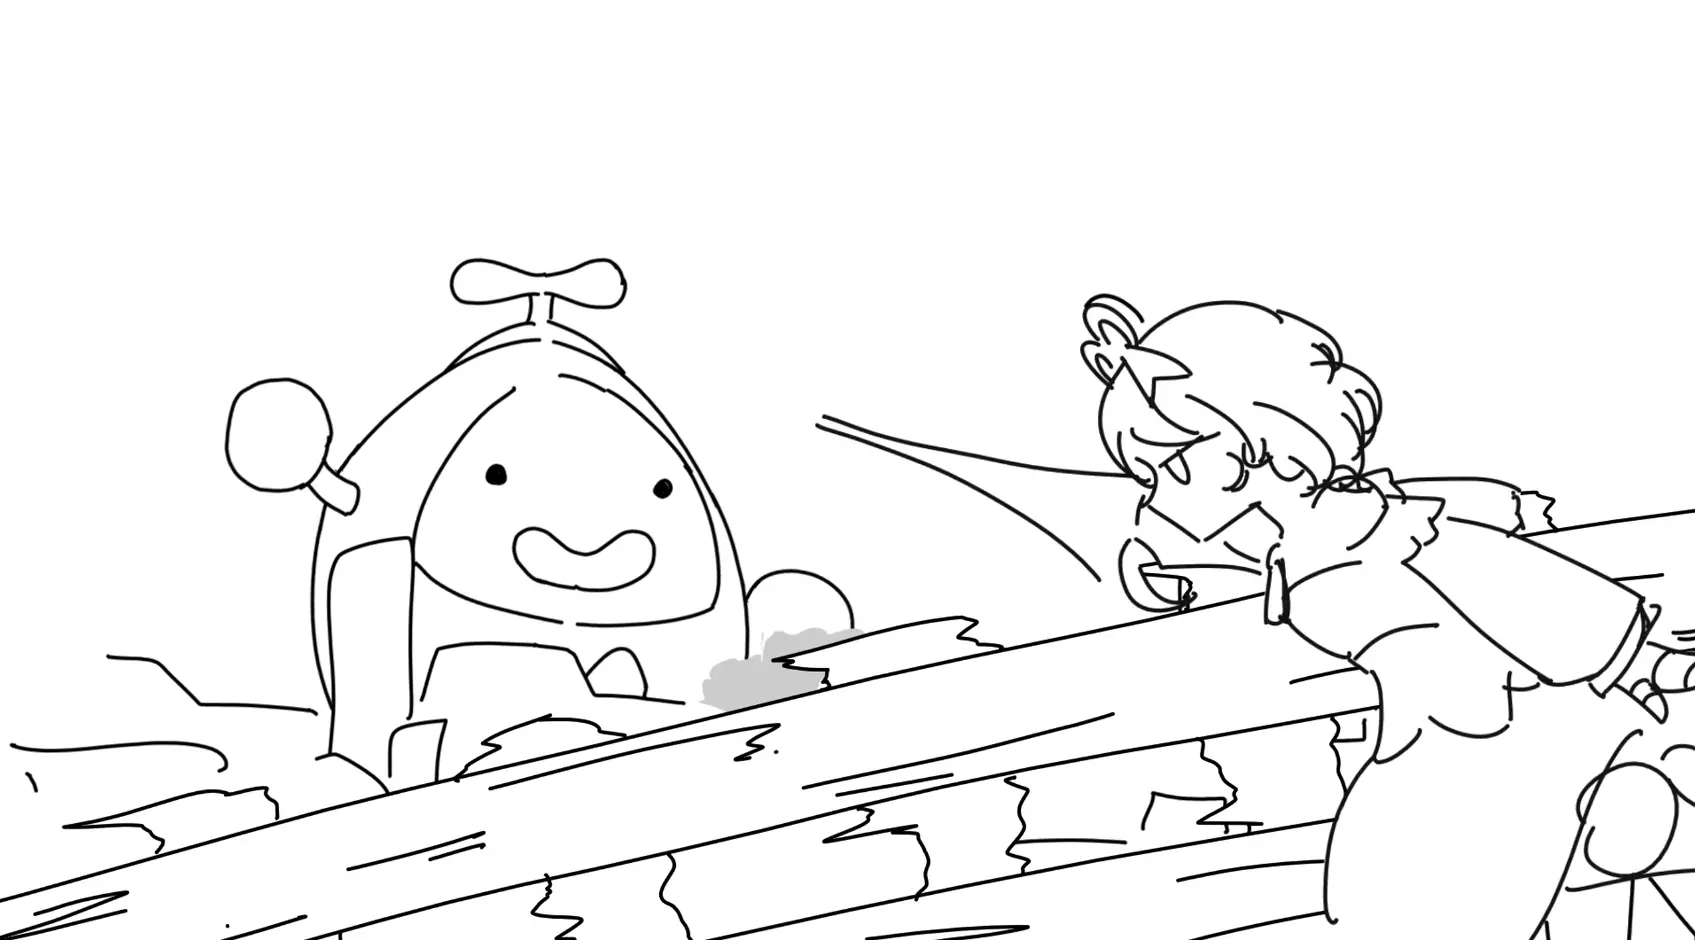
The scenes with Gigi were pretty tough to animate, with lots of micro-challenges like how the water tank spins a little while it’s thrown, how to draw Cecilia crouching and idle, and all of Gigi’s details.
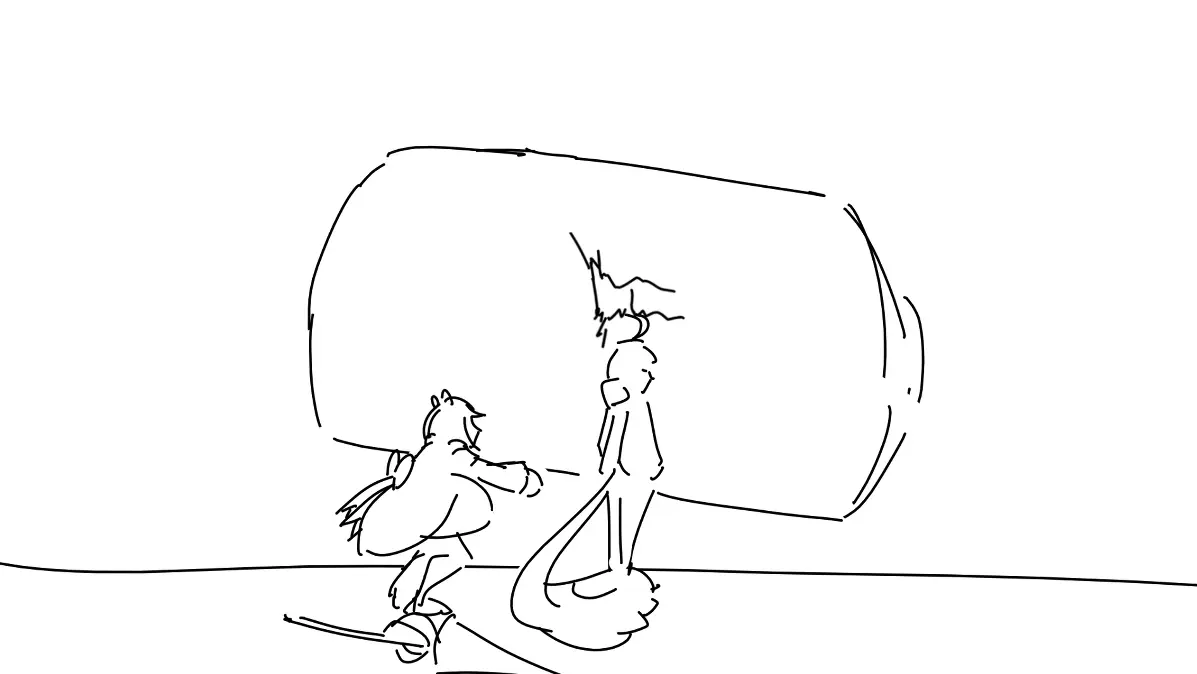
I decided to not put too much effort in her tail as I felt like making her tail move in a fun way would be too much of a time-sink.
I also was very unsure about how I would transition from this scene, to the one where she throws Cecilia up in the air. But as I drew Gigi turning toward Cecilia and Cecilia looking up at her, I realized that a cut to black would work best, and would also kinda be funny in a way (in the sense that they look at each other for a tiny moment and are immediately on the same page).
As for the reason why it zooms a little between the shots… that was just a mistake to be honest, Gigi ended up appearing a lot taller in the second scene, so I decided to scale up the water tank as well to just make it look like a zoom.
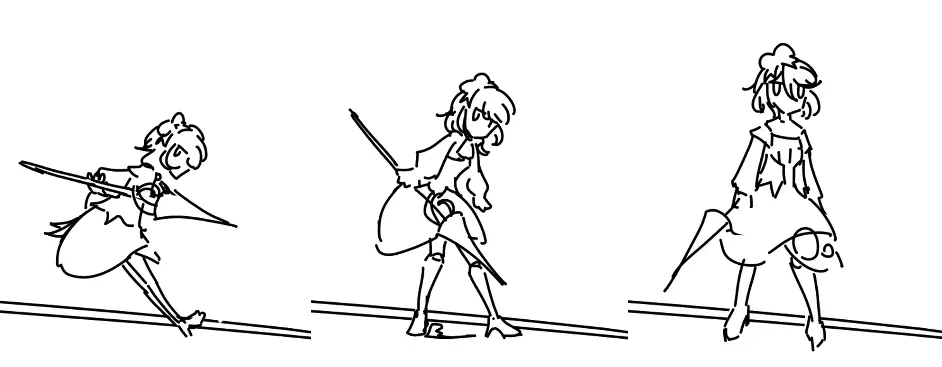
The scene after that was made with no particular goal other than, “this is the peak of the BGM and I want Cecilia to look cool as she’s about to attack.
The scene where giant otomo twitches a little and splits into was inspired by the way Sr Pelo does these kinds of things, I felt like it would be funny to just make him split instantly like that with no sense of weight or scale.
The next scene was brainstormed for a pretty long time, from the way the bubbles appear, to the way the screen rotates. It’s also the most Fusion-intensive animation shot in the video.
I’m watching Meitantei Precure, and one thing that caught my attention in the ending choreography is what they do with the split screen.
I found it very cool how the separation fades as the split screen turns into one single view, so I wanted to do the same ting.
I initially thought it would be easiest to do with 3d, but as I started working on it, I realized that since there is no background where seems would be visible, I didn’t really need to ensure perfect accuracy, I didn’t even need to share the split for the whole scene, only for the noise effect in the background.
The whole scene requires “not-that-many-nodes-actually”, and can be explained just as easily.
- The rotating mask is used to separate, and later merge the background noise effect that gives the impression of speed;
- The rotation is also used to create the separation line, which is later squished down;
- Both Cecilia and the Otomo have 3 stacked transforms, all playing simultaneously:
- The dezoom;
- Them closing in on eachother as Cecilia dives faster;
- A counter-rotation to cancel the main rotation that is applied later (this is a very simple way to do orbits, you parent your element to the center of the orbit, and link+invert the rotation of the element to that of the orbit).
The remaining scenes don’t have much that’s worth comenting on, what you see is basically how it’s made. Those last illustrations were also made on my tablet instead of Krita.

Parting words
So that’s about all I had to say regarding this video, it took about 1 week to make in total, but I’ve been thinking and brainstorming for much longer than 1 week, this idea has been in my mind a few weeks before april, when Brando suggested the colors theme.
I’m overall pretty happy with how the video came out, the gap between what I wanted to make and what I managed to make was pretty small, all my ideas came through nicely.
Thanks for reading, and see you in the next article.