At the end of 2022, I was finally able to finish all my ongoing collab projects. I was able to enjoy a rare state of comfort in knowing that I had no deadline in sight. So I made it a resolution to not join new collaborations for a while and focus more on personal videos.
Right as the new year started, I recieved a private message from Krm.
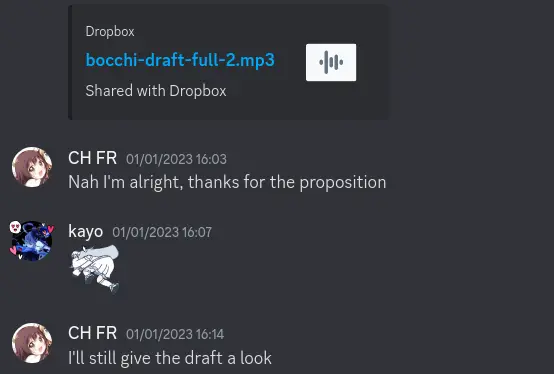
Pro tip: if you’re planning to decline a collab invite, then DO NOT listen to the draft.
Well… I do love Tokyo Shandy Rendez-vous, so I might as well do my best!
This article will broadly describe the making of my part for Krm’s Bocchi The Rock collaboration.
When starting this part, I initially planned to make it all about Furuko chan, and her trusty nurse acolyte.
The first idea I had was to mimick what happened in episode 5, and instead of Kessoku Band, have Furuko chan be the one on stage. She would occasionally stop singing to ask the audience how she’s doing, which would cause Yoyoko to badmouth her, upon hearing that, she’d get angry and start singing the chorus much more ardently.
I wasn’t feeling it so I gave up on this idea.
The second thing I imagined was a scenario where they fail to bring people to their stand, and then decide to make a band after seeing a completely random online concert.
However I quickly realized that this meant drawing the whole story visual-wise, and audio-wise, I realized I didn’t have the necessary skills to create a compelling story that also sounded good.
So the idea died off pretty quickly, I knew I had to give up when I started trying to insert unrelated songs (because I was unconfident in the fun-factor of the part).
I’m sorry for failing you Furuko chan…
Ultimately, I decided to use my other favourite character: Hiroi.
First half
Part of what makes me love Hiroi so much is the fact that, out of the whole cast, and despite herself, she is the one who actually gives Bocchi the most genuine words of encouragement. The street concert they do in episode 6 still is my favourite moment in the entire anime.
It is worth noting that the tone in BTR can get pretty cynical, you’ll quickly notice that most of the main adults are often depicted as dropouts, good-for-nothings, etc… And whenever they talk about their life prospects, it often looks very bleak. Because of that, I find those moments of encouragement/life advice very heartwarming.
And so, it is this feeling that I tried to convey in the first half of my part.
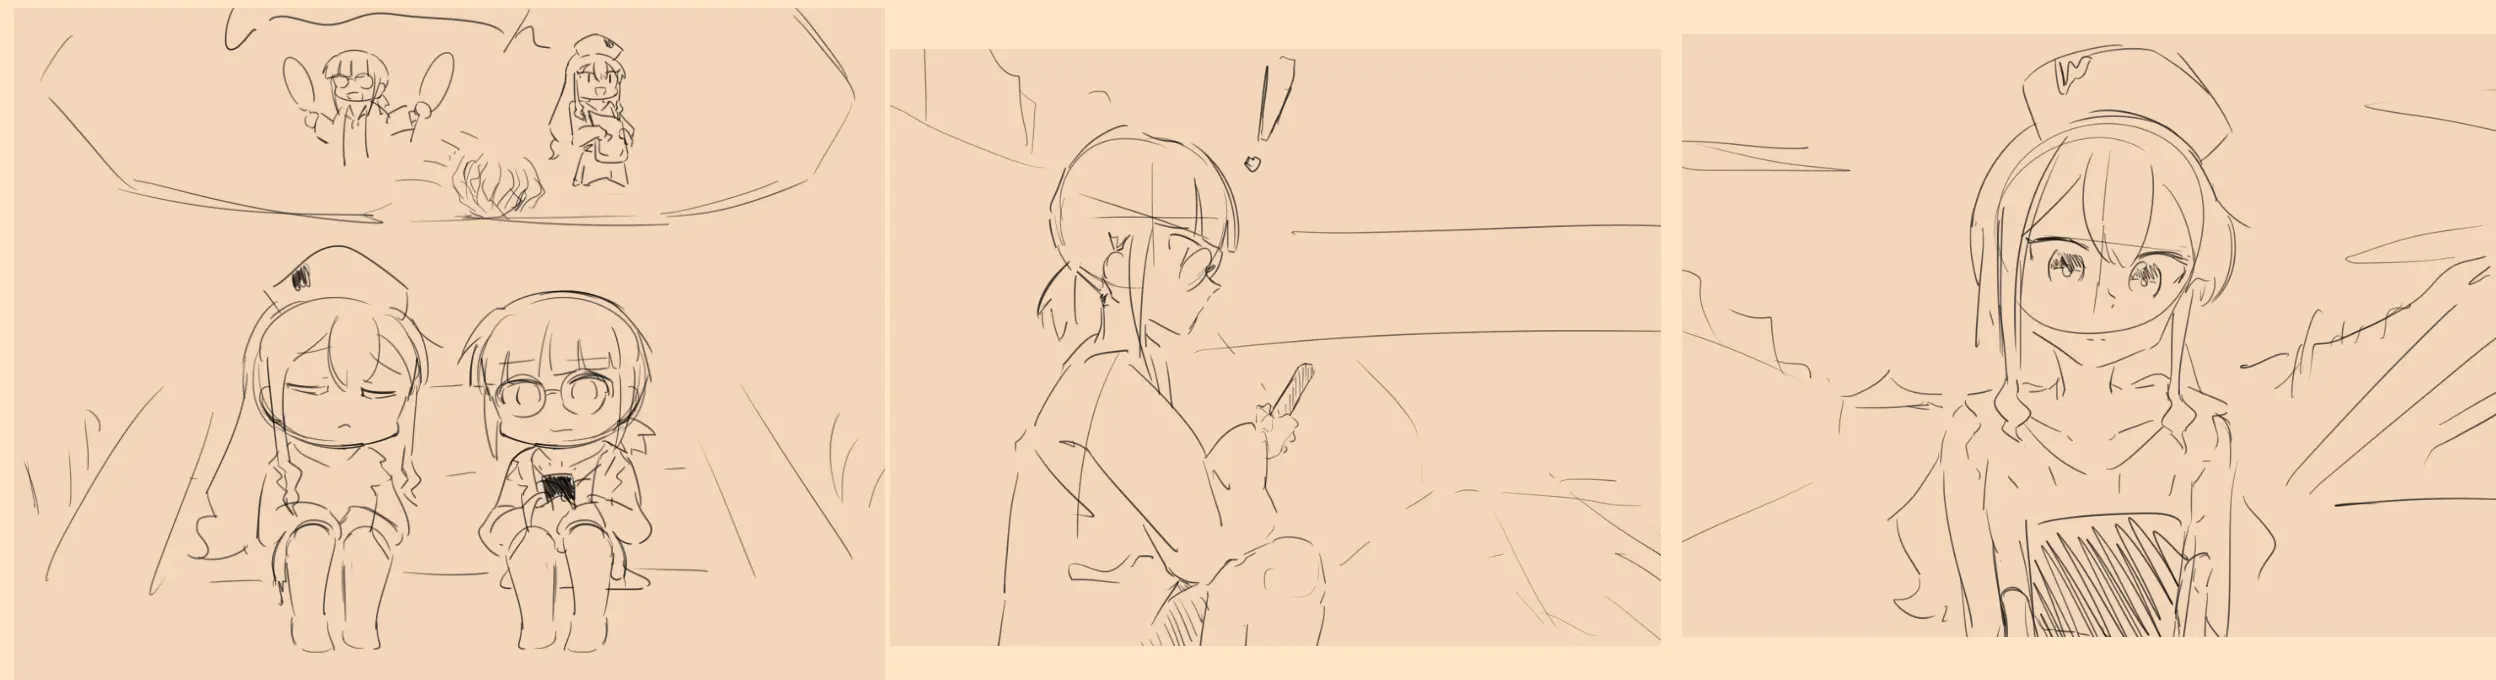
I chose the moment where Bocchi first meets Hiroi, and tries to run away from her.
I don’t remember how I got the idea to stop the medley in the middle, but the idea came pretty early in the part, I felt like doing it that way was the best way to make it more emotional. I hope that my decision to completely halt the medley’s flow was worth it.
This part used to be unreasonably long, I was told to make it shorter, which is fair.
Second half
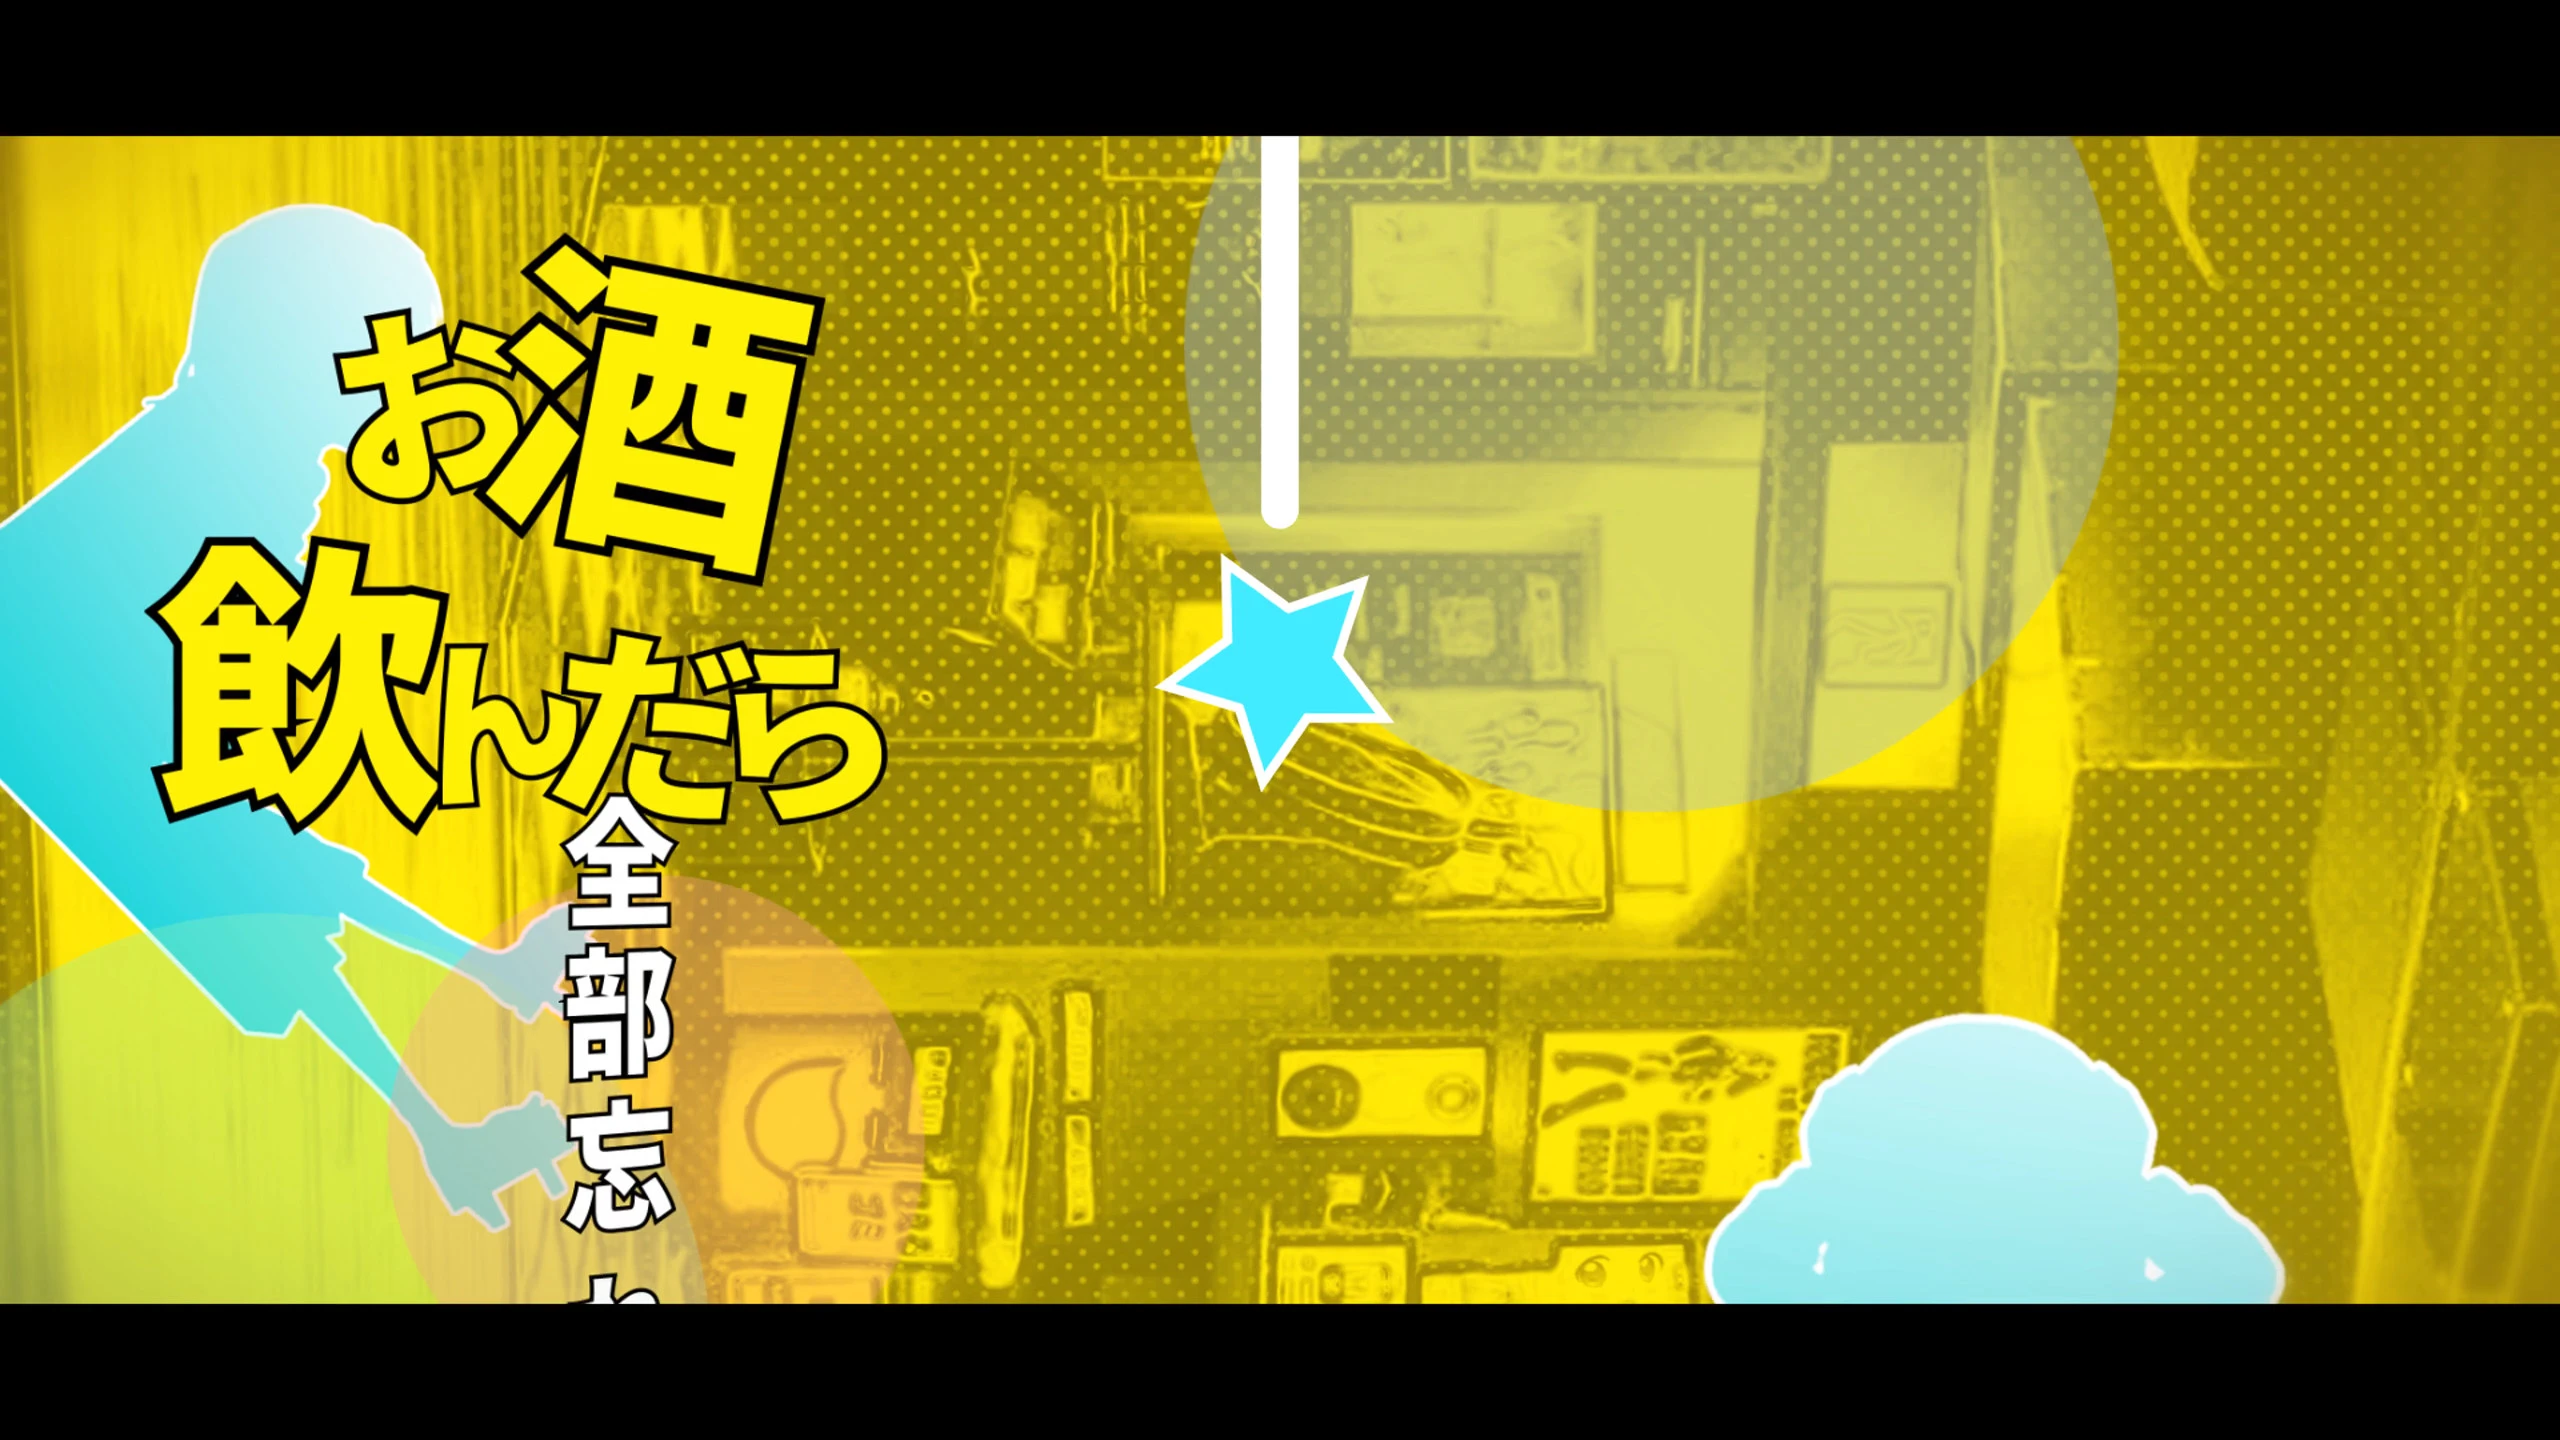
While it’s nice to have some emotional segments, I still wanted to have some fun as a madmaker when making this. This is why I decided to make the second half more lighthearted, and more like a traditional otomad, because it’s fun.
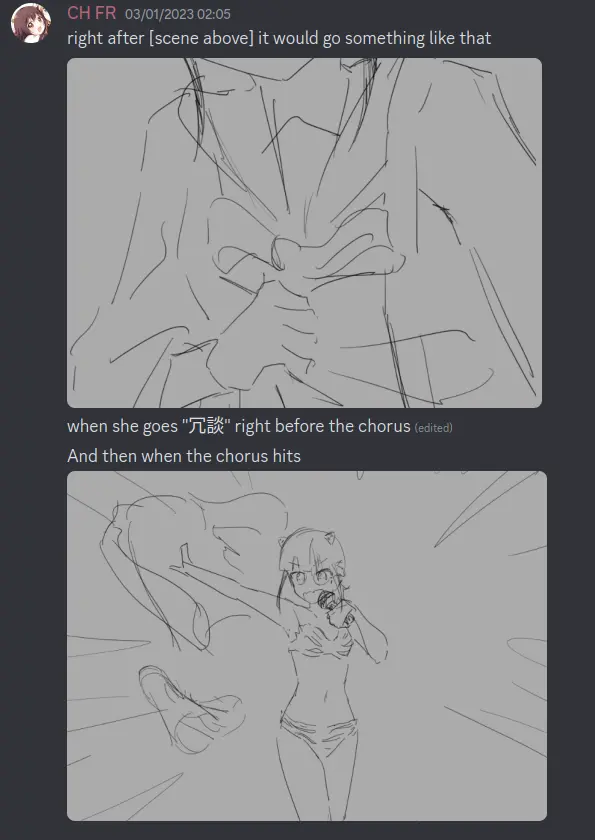
I tried to make the disconnect between the two halves evident in the audio “なんちゃって […] どうでもいいじゃん” and in the visuals (I’m not quoting what I wrote there). The idea behind this was “the heavier section is over, you can relax a bit now”.
My audio work is not the most interesting to dissect, so I don’t think there’s a lot to say about it. Well, I discovered that using my tablet to draw the pitch in Vocalshifter was a viable thing to do, but aside from that, I didn’t really pull any magic trick or anything.
Inexorably, the year went on, and by the time I got around doing the visuals, I had already switched to Ubuntu for my main OS, ready to accept the consequences of that switch.
One year earlier, I had already completely ditched After Effects, and went on to learn Davinci Resolve (and more precisely, Fusion). Having now completed three videos with it (one of which is still not out yet), I had a better grasp of how this software worked, so I approached this project with more confidence.
Bye bye h264
The first roadblock I hit thanks to leenucks was the complete lack of h264 support in the free version of Resolve. However, it wasn’t anything that convoluted scripting couldn’t fix.
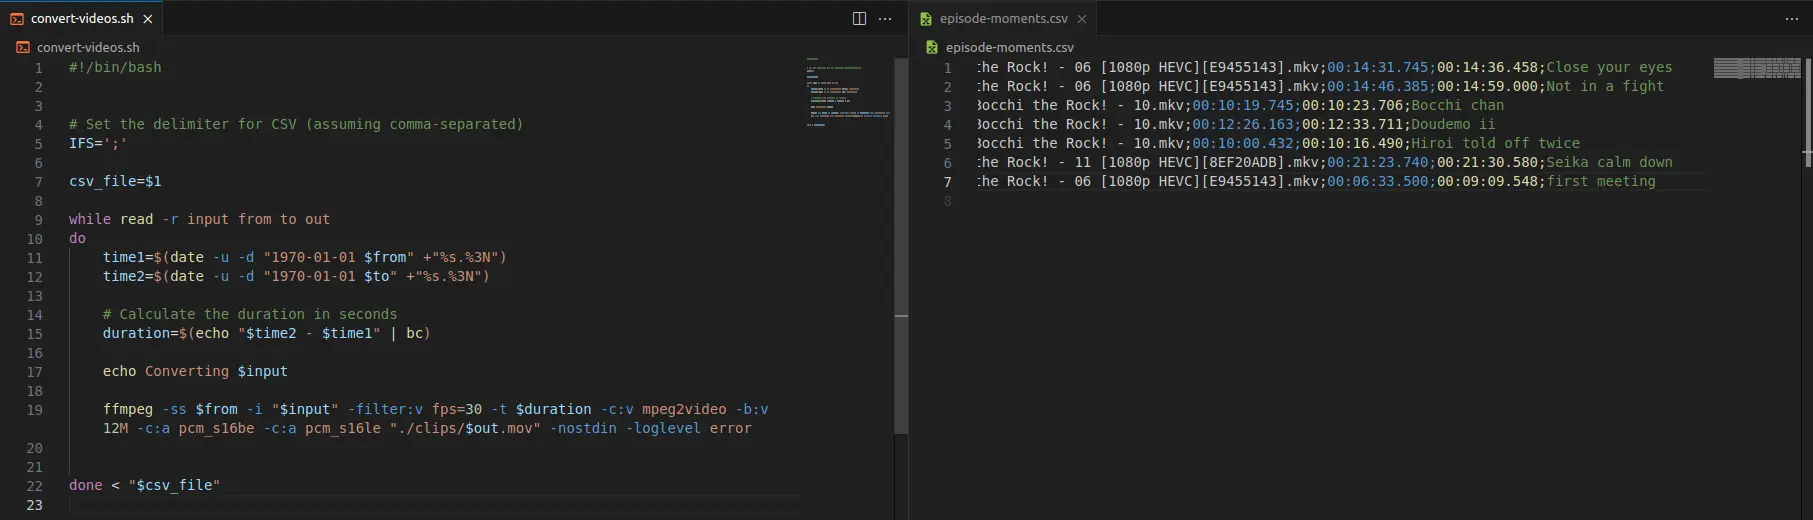
With that in place, and a handy mpv script to copy timestamps, I now had a functioning pipeline to render the visual segments that I wanted out of episodes.
Fun fact: Reaper also handles mpeg2 much better than h264 when you want to do your visuals there. To be fair, anything is a better alternative to delivery codecs when doing video editing (as any sufficiently smug video editor will make sure to tell you).
Drawings and animation
I’ve made it a personal rule to draw at least one asset when doing more advanced visuals, be it in the video or for the thumbnail. This time was no exception.
And picking this bgm was a nice occasion to draw Hiroi in a pretty nice outfit, so there’s no way I wasn’t drawing anything!
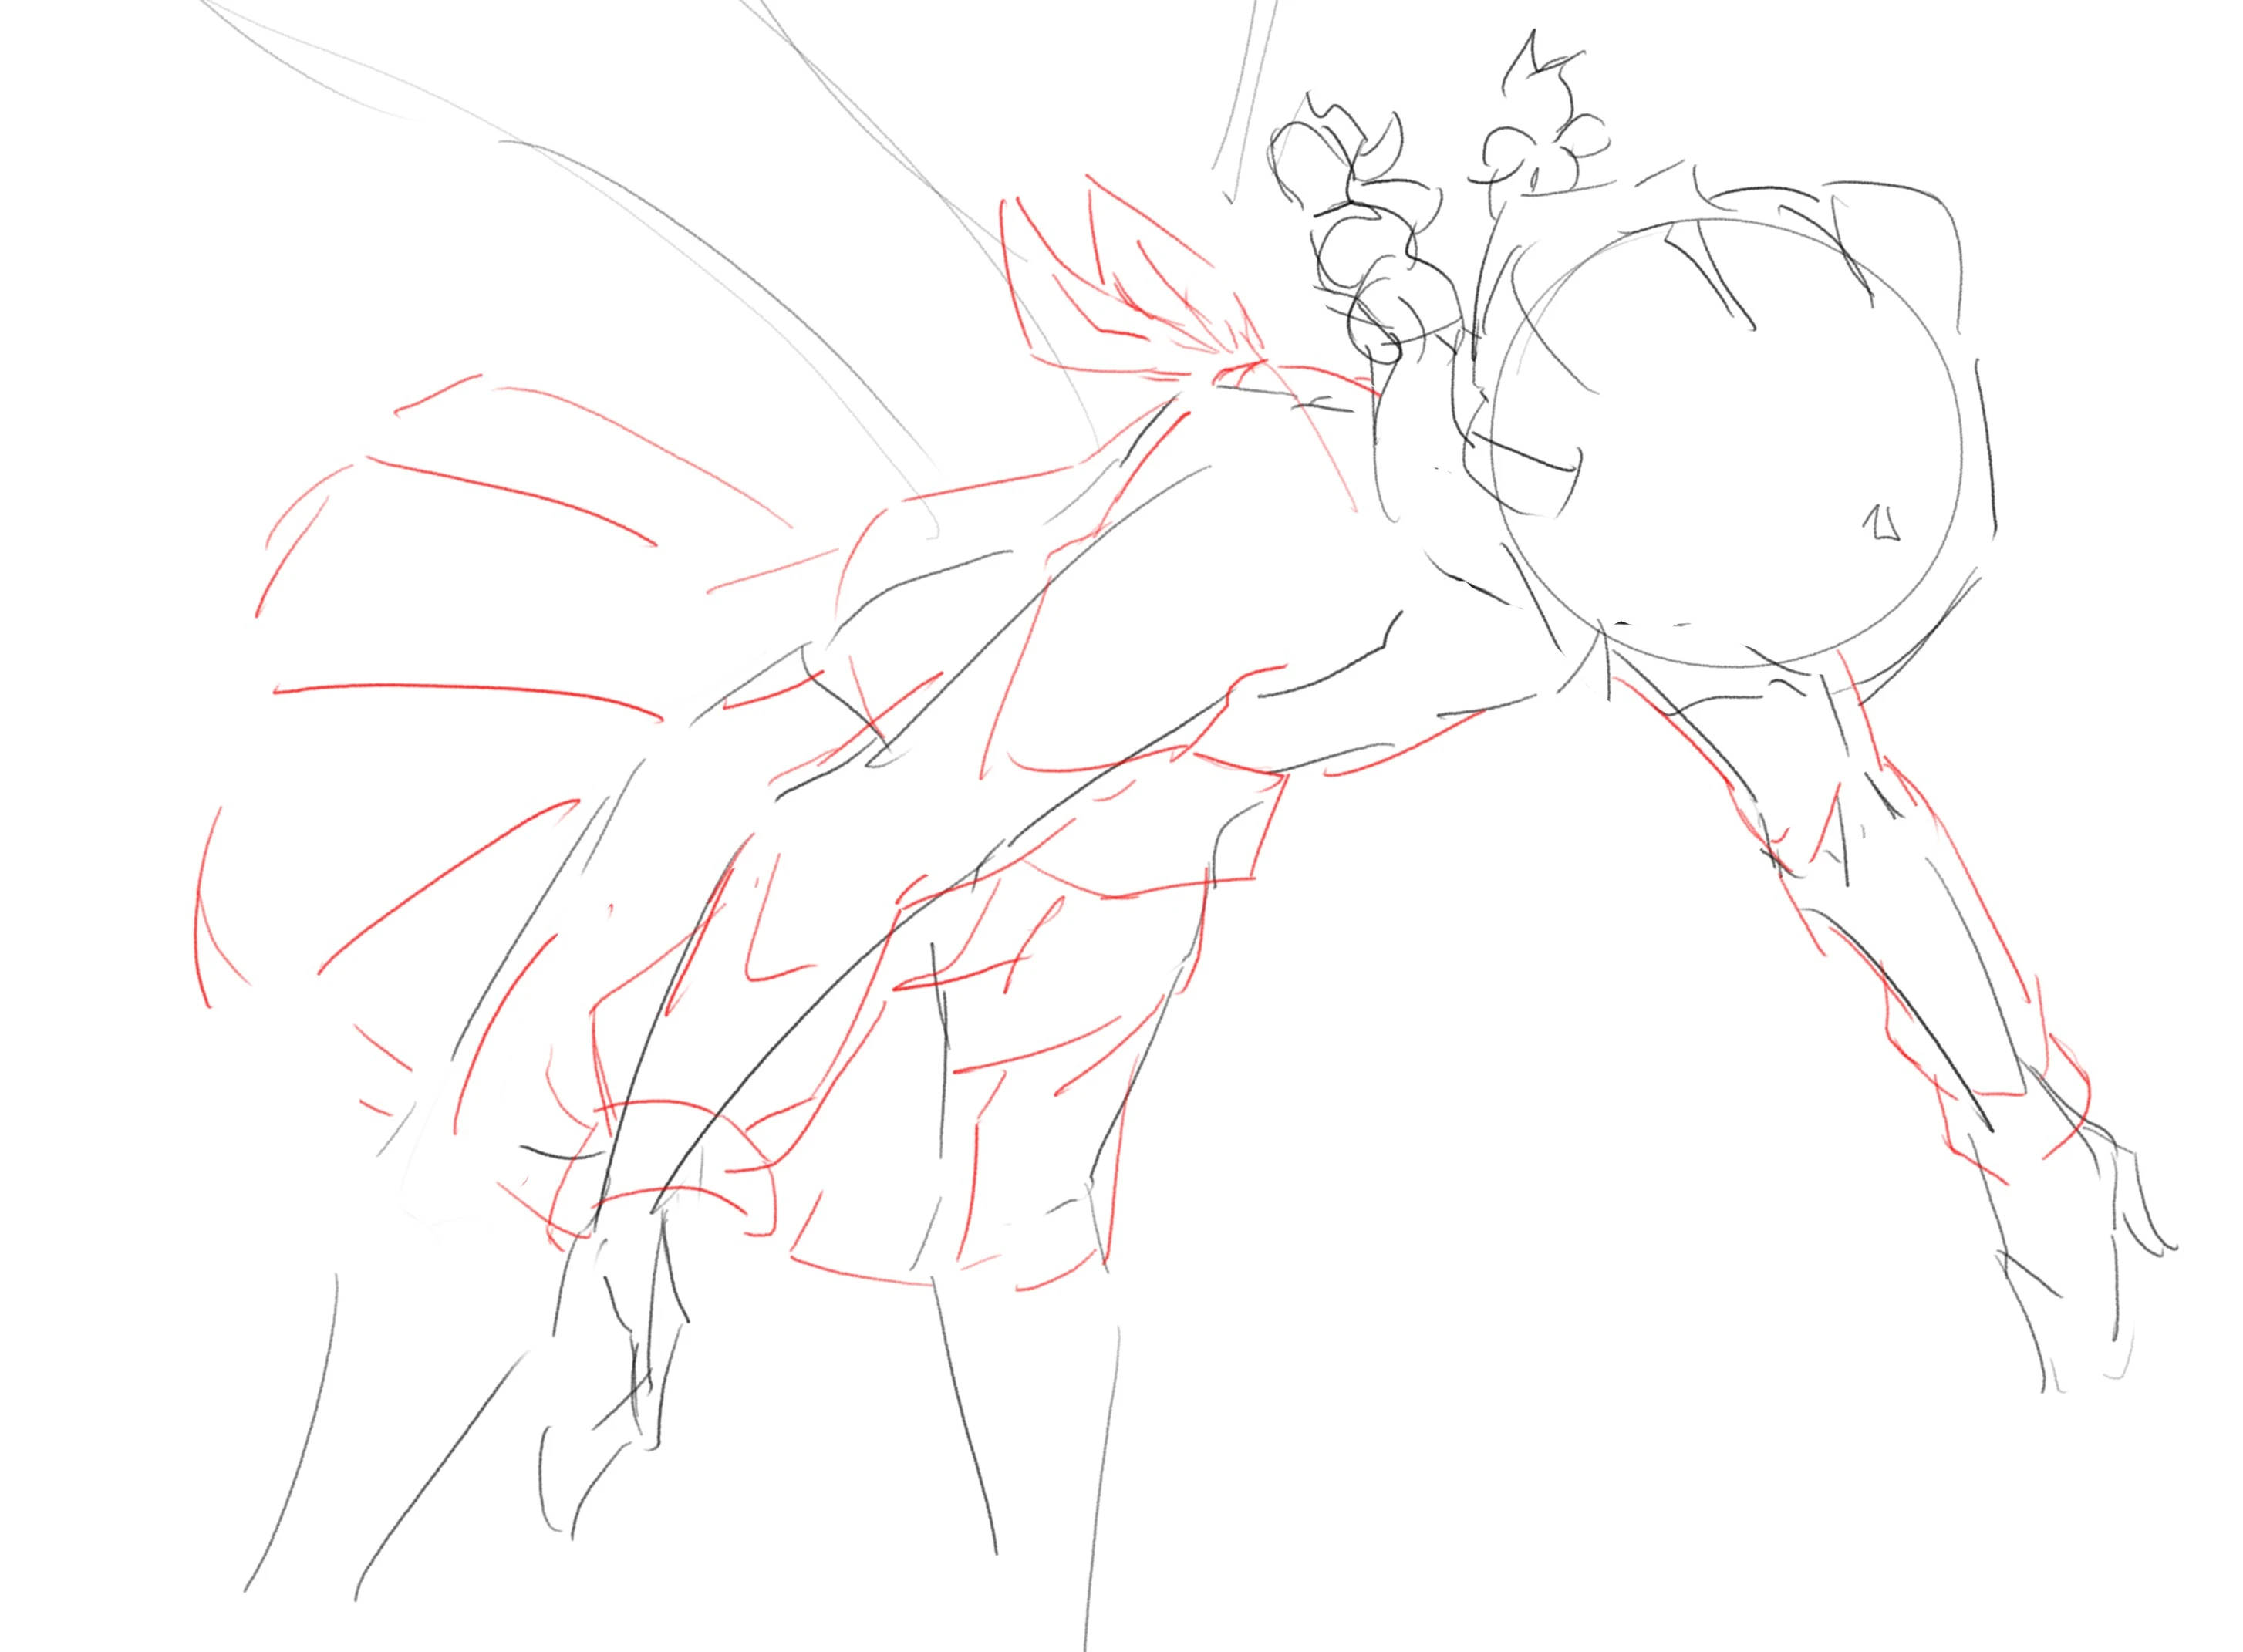
So I got to work, drafting and inking and coloring. Until I eventually ended with the two main poses.
I ended up drawing much more than I anticipated. As I was brainstorming, I came up with more ideas that would require hand-drawn assets, some of which I decided to make into animations.
While I am bummed that I can’t use Clip Studio Paint on Ubuntu. I must admit that animating in Krita has been a much more pleasant experience. And I hope I’ll have the motivation to do it again in the future.
Morphing shapes in fusion
This part ended up being more fun than expected, even if a bit tedious.
One thing I learnt was that where you close your shape has a pretty big impact on how it morphs (thinking about it some more, that’s just common sense though).
So once I knew how to morph stuff well, I just needed to do that for every other character. And put the whole thing together (a bit of 3d displacement did the trick to make it look watery).
I’m pretty happy with how this scene looks, and how the sake spills got integrated into the lyrics. This is one of the sections which came the closest to what I initially envisioned.
Is AI able to mask anime yet?
During my work on the part, I gave stable diffusion a try. After learning the basics. I used a Semantic Segmentation preprocessor in order to generate masks for a sequence of images.

I was surprised at how easy comfyUI makes it to use Stable Diffusion. But unfortunately, while they look good from a distance, the resulting mask was pretty underwhelming, and I took as much time patching them up as I would’ve taken simply masking it manually from the beginning.
I guess the answer is still no…
My first attempt at a BIG scene (it’s botched)
I have talked in private spaces about a certain fascination I have with “BIG” scenes, and I think this section would be a good occasion to bring it up.
It started when I saw Lachrymal’s part for the 2021 chinese touhou collab. As I watched this part. I suddenly became awestruck at the sheer scale of the scene, a continuous dezoom that didn’t stop, elements that take the whole screen would look tiny just a few seconds later.
The second example I’d like to bring up is Imotart’s part in the Kabikira collab. The magnificent immensity of the first scene, with its towering bamboo, is immediately followed by a burst of colors, in a dezoom that feels similarly huge.
The third example happens in MinusT’s Eternal Night animation, I found the scale of the timestamped scene to be particularly thrilling.
The fourth and last example is, once again, from Imotart, in the trailer for his Bike Thief collaboration trilogy. At first, the background doesn’t look like much, it would pass as any abstract background you’d find in asset stores. But then, you realize that you are actually zooming out of a phone, then a room, then a street, then a city, and as the song nears the chorus, you practically have a full view of the whole earth!
Anyways, to put it simply, I’ve been more and more interested in trying to make similarly huge compositions. This desire of mine led to the making of the scene in the Higanbana field.
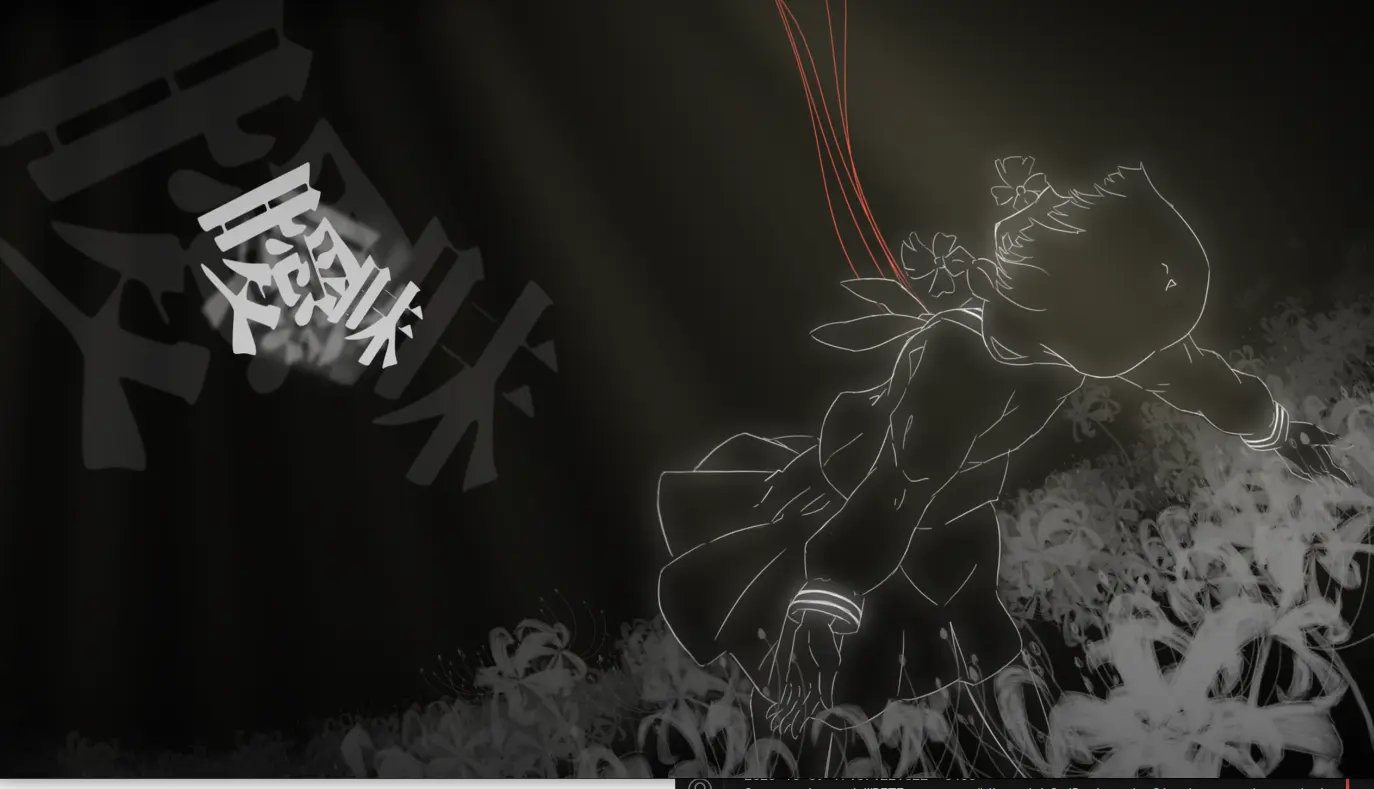
Well… I’m not nearly there yet for the sense of scale, still, I think it could be interesting to talk about the process, so I’ll do just this.
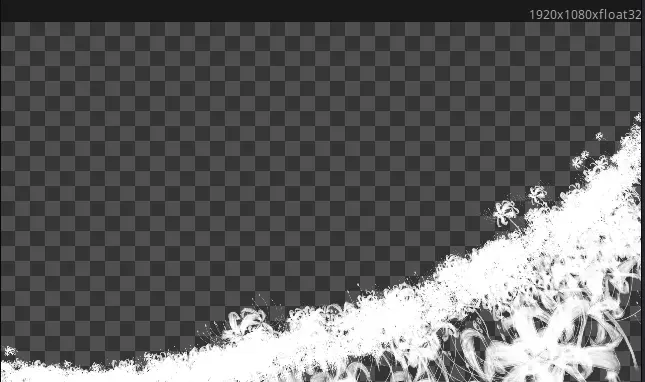
Making a flower field
First, I had to think about how to make the flower field. The obvious solution to that was particles, so all I had to do was draw the variants, it took about an afternoon, but that wasn’t particularly mentally draining (kinda like masking).
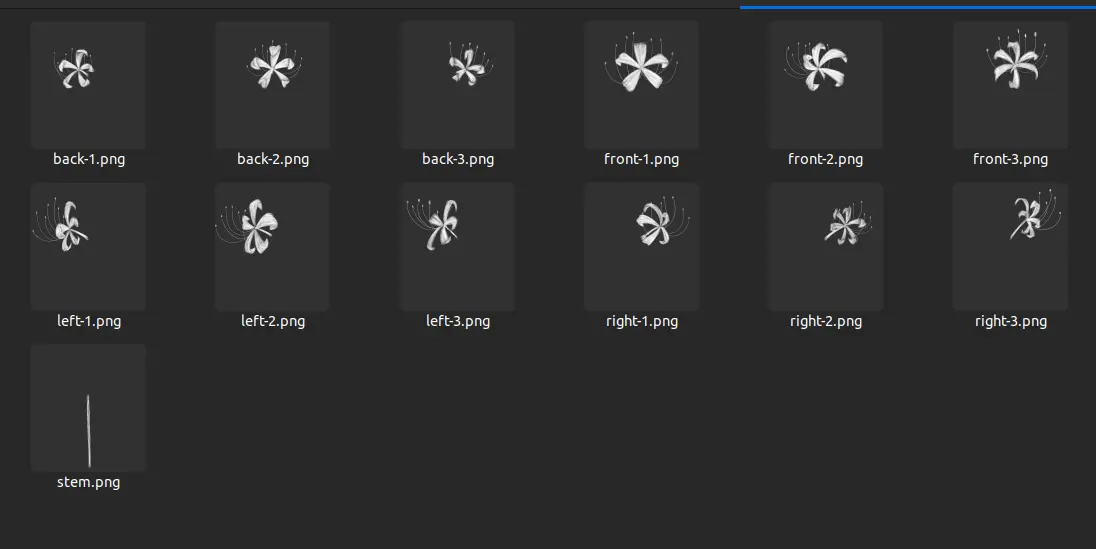
So now the plan was simple : create all possible combinations of front/back/left/right flowers and have a particle system select one at random for each particle. Then neatly lay them down on a field.
The combinations just take a bit of math to create, nothing fancy.
- The front/back (6 in total) flower switch every frame
- The left flower (3) switches every 6 frames
- The right flower (3) switches every 18 frames
This is enough to explore every combination.
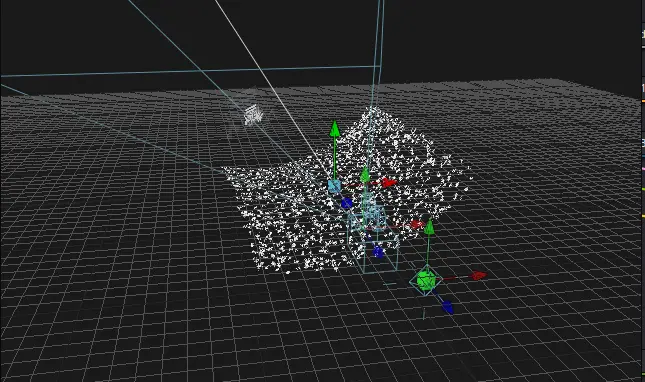
We now have a nice field.
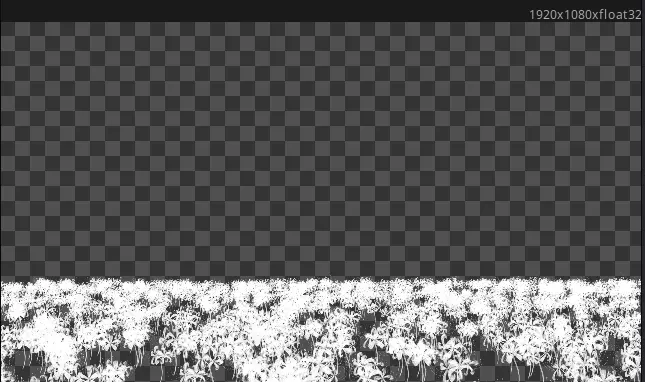
(Not really, we can’t really make a good scene out of it as it is, maybe with a more interesting angle?)
(Now this certainly packs more punch!)
Notice the flowers sticking out? There seems to be imprecision that gets in some of the particles’ position as I bend the 3d space. I haven’t really figured out how to fix it… but oh well.UPDATE: turns out all I had to do to fix this was to click on a simple checkbox called “group objects” on the blend node! That’s great to know for the future.
At the end of the day, that scene simply wasn’t as huge as I wanted it to be. The scale is bigger than what I usually do for sure, but when you zoom out, it’s still very small in the 3d space.
(Note that I’m not talking about complexity, a scene can feel huge while still being relatively simple).
In my future endeavors, I’ll try to be more ambitious with scale in the 3d space, maybe by using blender, but I’m not too sure yet.
The last scene
It’s not a very remarkable scene as it is pretty much a one-to-one replica of the original PV. I simply edited the characters out in a shot of Shinjiku Folt, and applied a halftone directly within Krita.
Finally, everything was comped together in 3d space.
I didn’t actually coordinate with AllColor for the end transition, he just took the ending of my part, and made it awesome on his own.
As I am still learning the ropes with Davinci Resolve and Fusion, each project comes with a big amount of knowledge gained. While my footing with the software is getting more and more stable, I have yet to reach the same amount of mastery I used to have with After Effects, which, in a way, is encouraging, as I also don’t see a glass-ceiling yet.
As stated earlier, I want to ramp up the scale of my scenes, not necessarily by making them more complex, but rather by pushing the sliders further, without limiting myself out of fear that the software might not follow.
In the end, this project still had a fair number of hand-drawn assets. In the future, I want to get more apt at using blender so that it becomes a viable choice if I “want something done quick in 3d space”. I also believe that blender will cope better with big scenes compared to Fusion’s 3d engine (even though it’s also very apt).
When it comes to the collab itself, it was a fun experience as usual. I congratulate Krm for being able to deliver it on time. I also thank EdenGT for his work as a visual adviser, since his feedback prevented me from getting complacent, particularly toward the end of the project.
With that said, thank you for reading this far. Please enjoy some additional drafts to end this article.
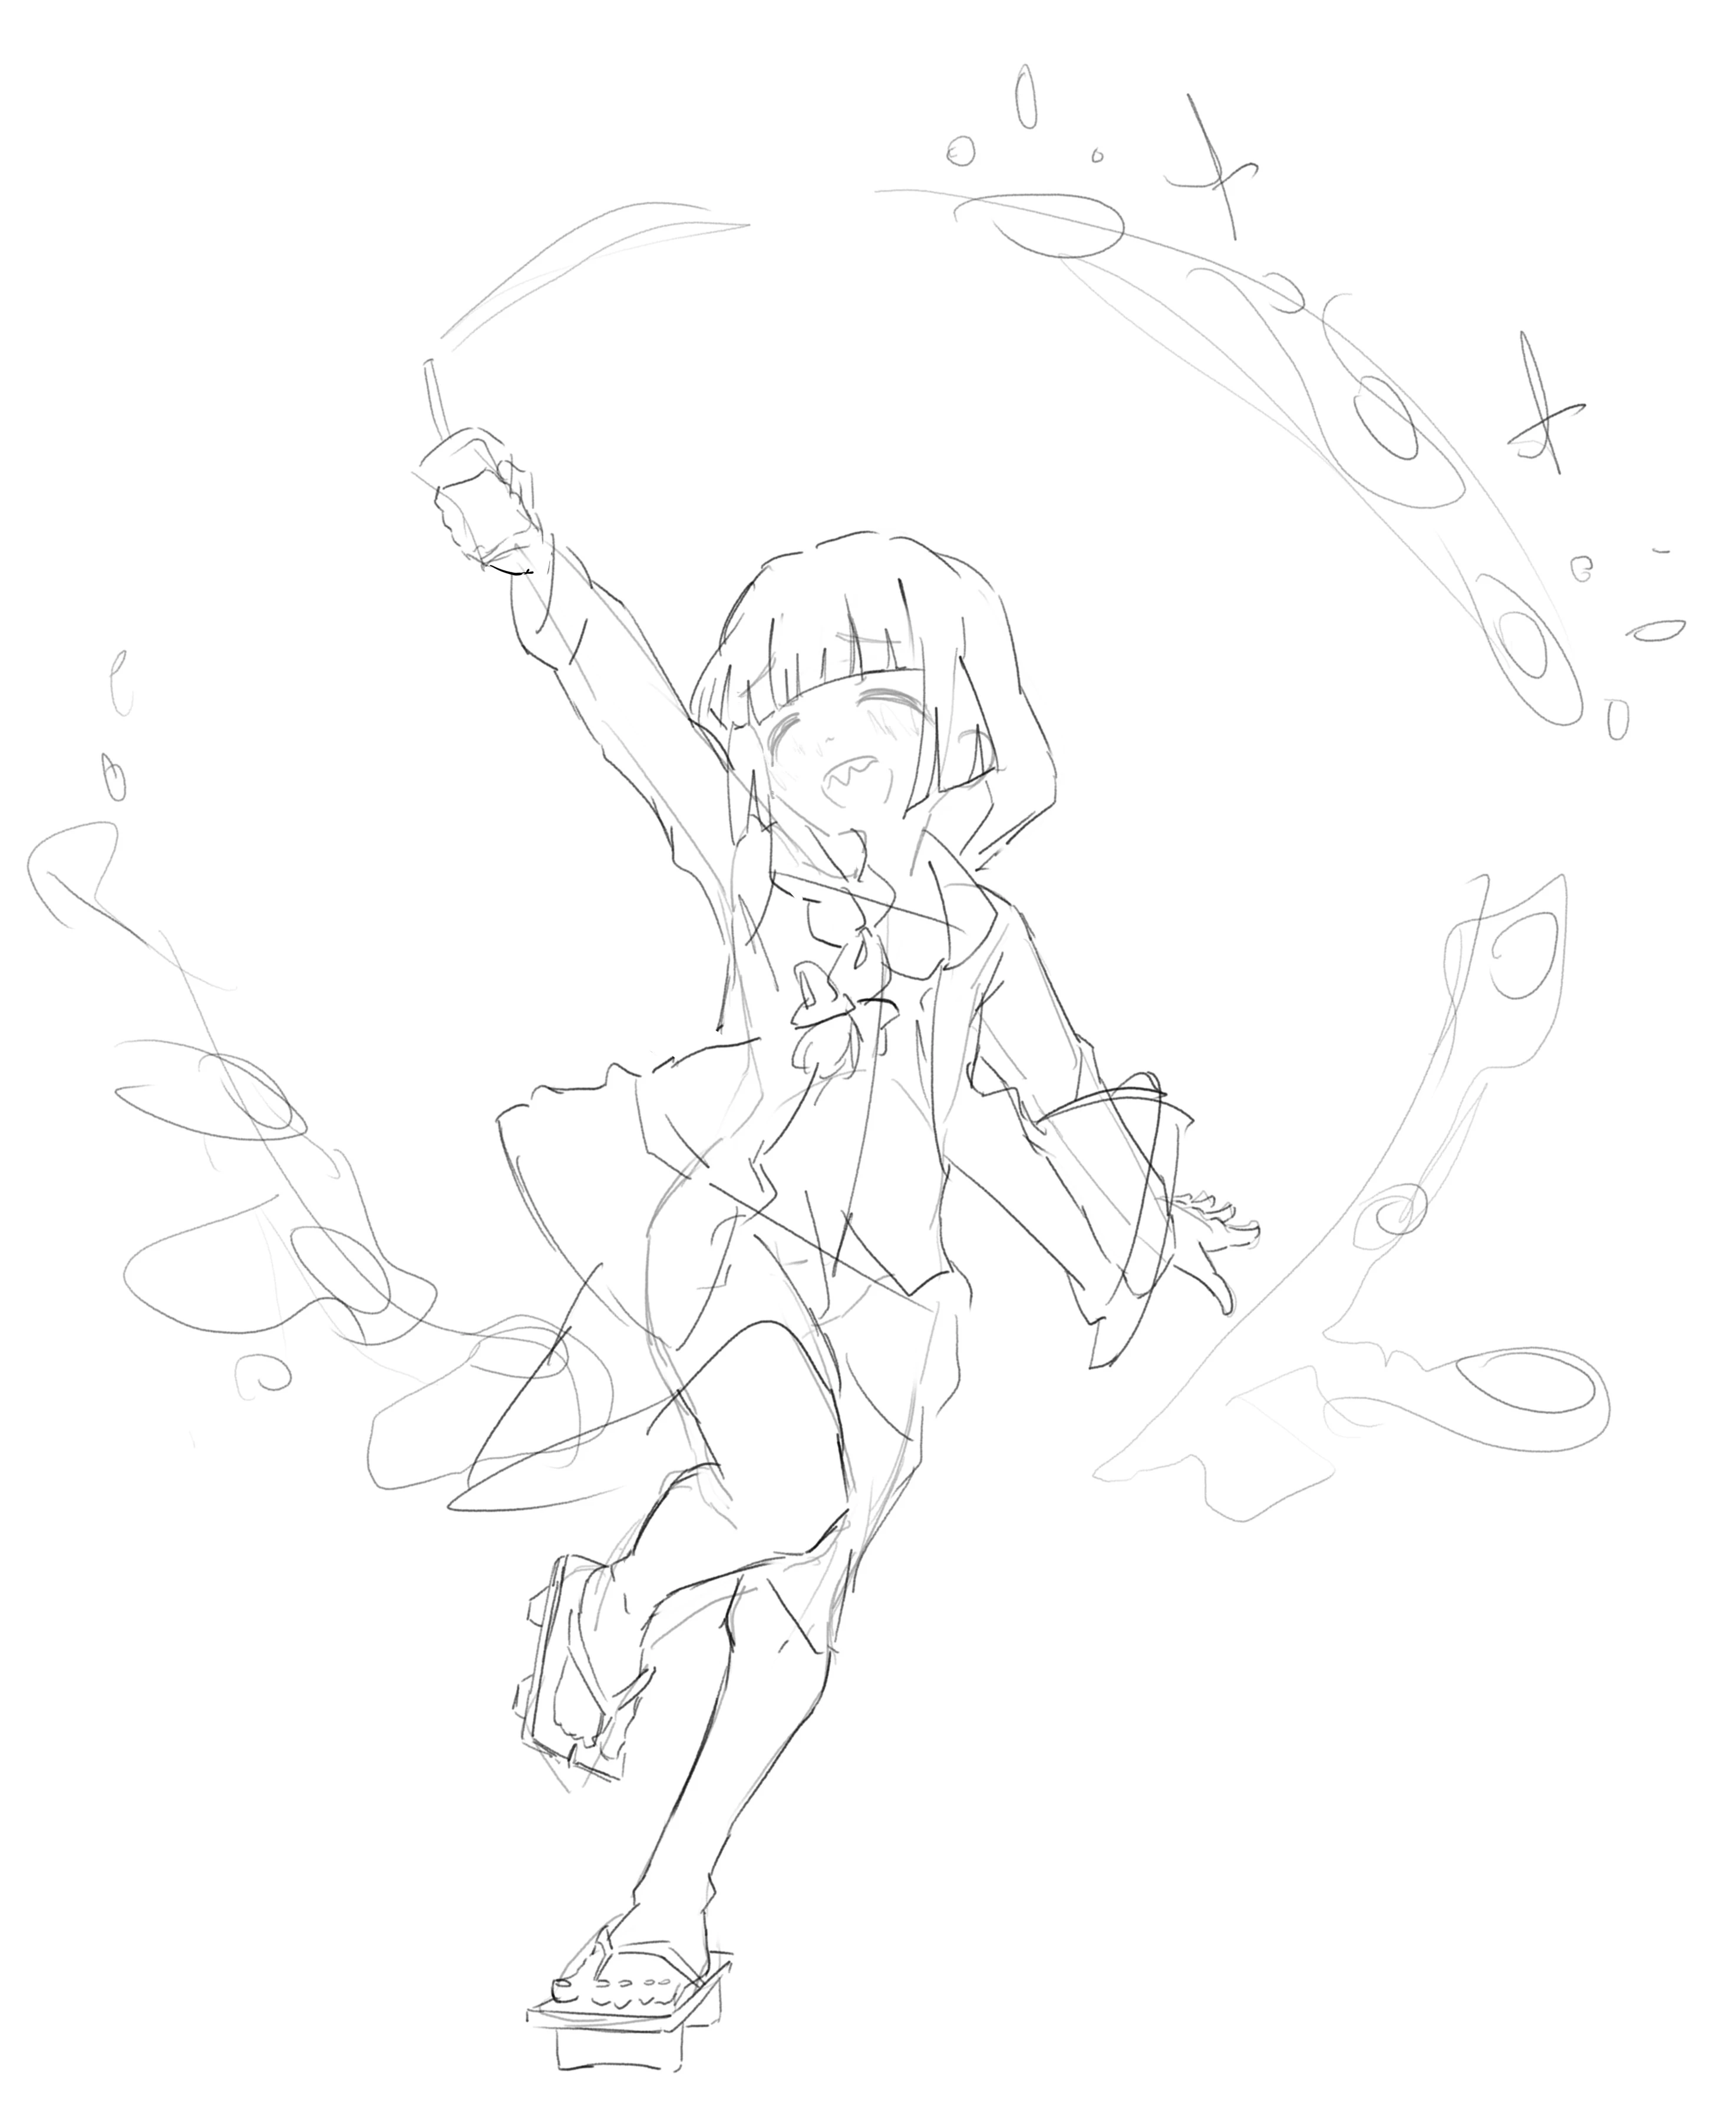
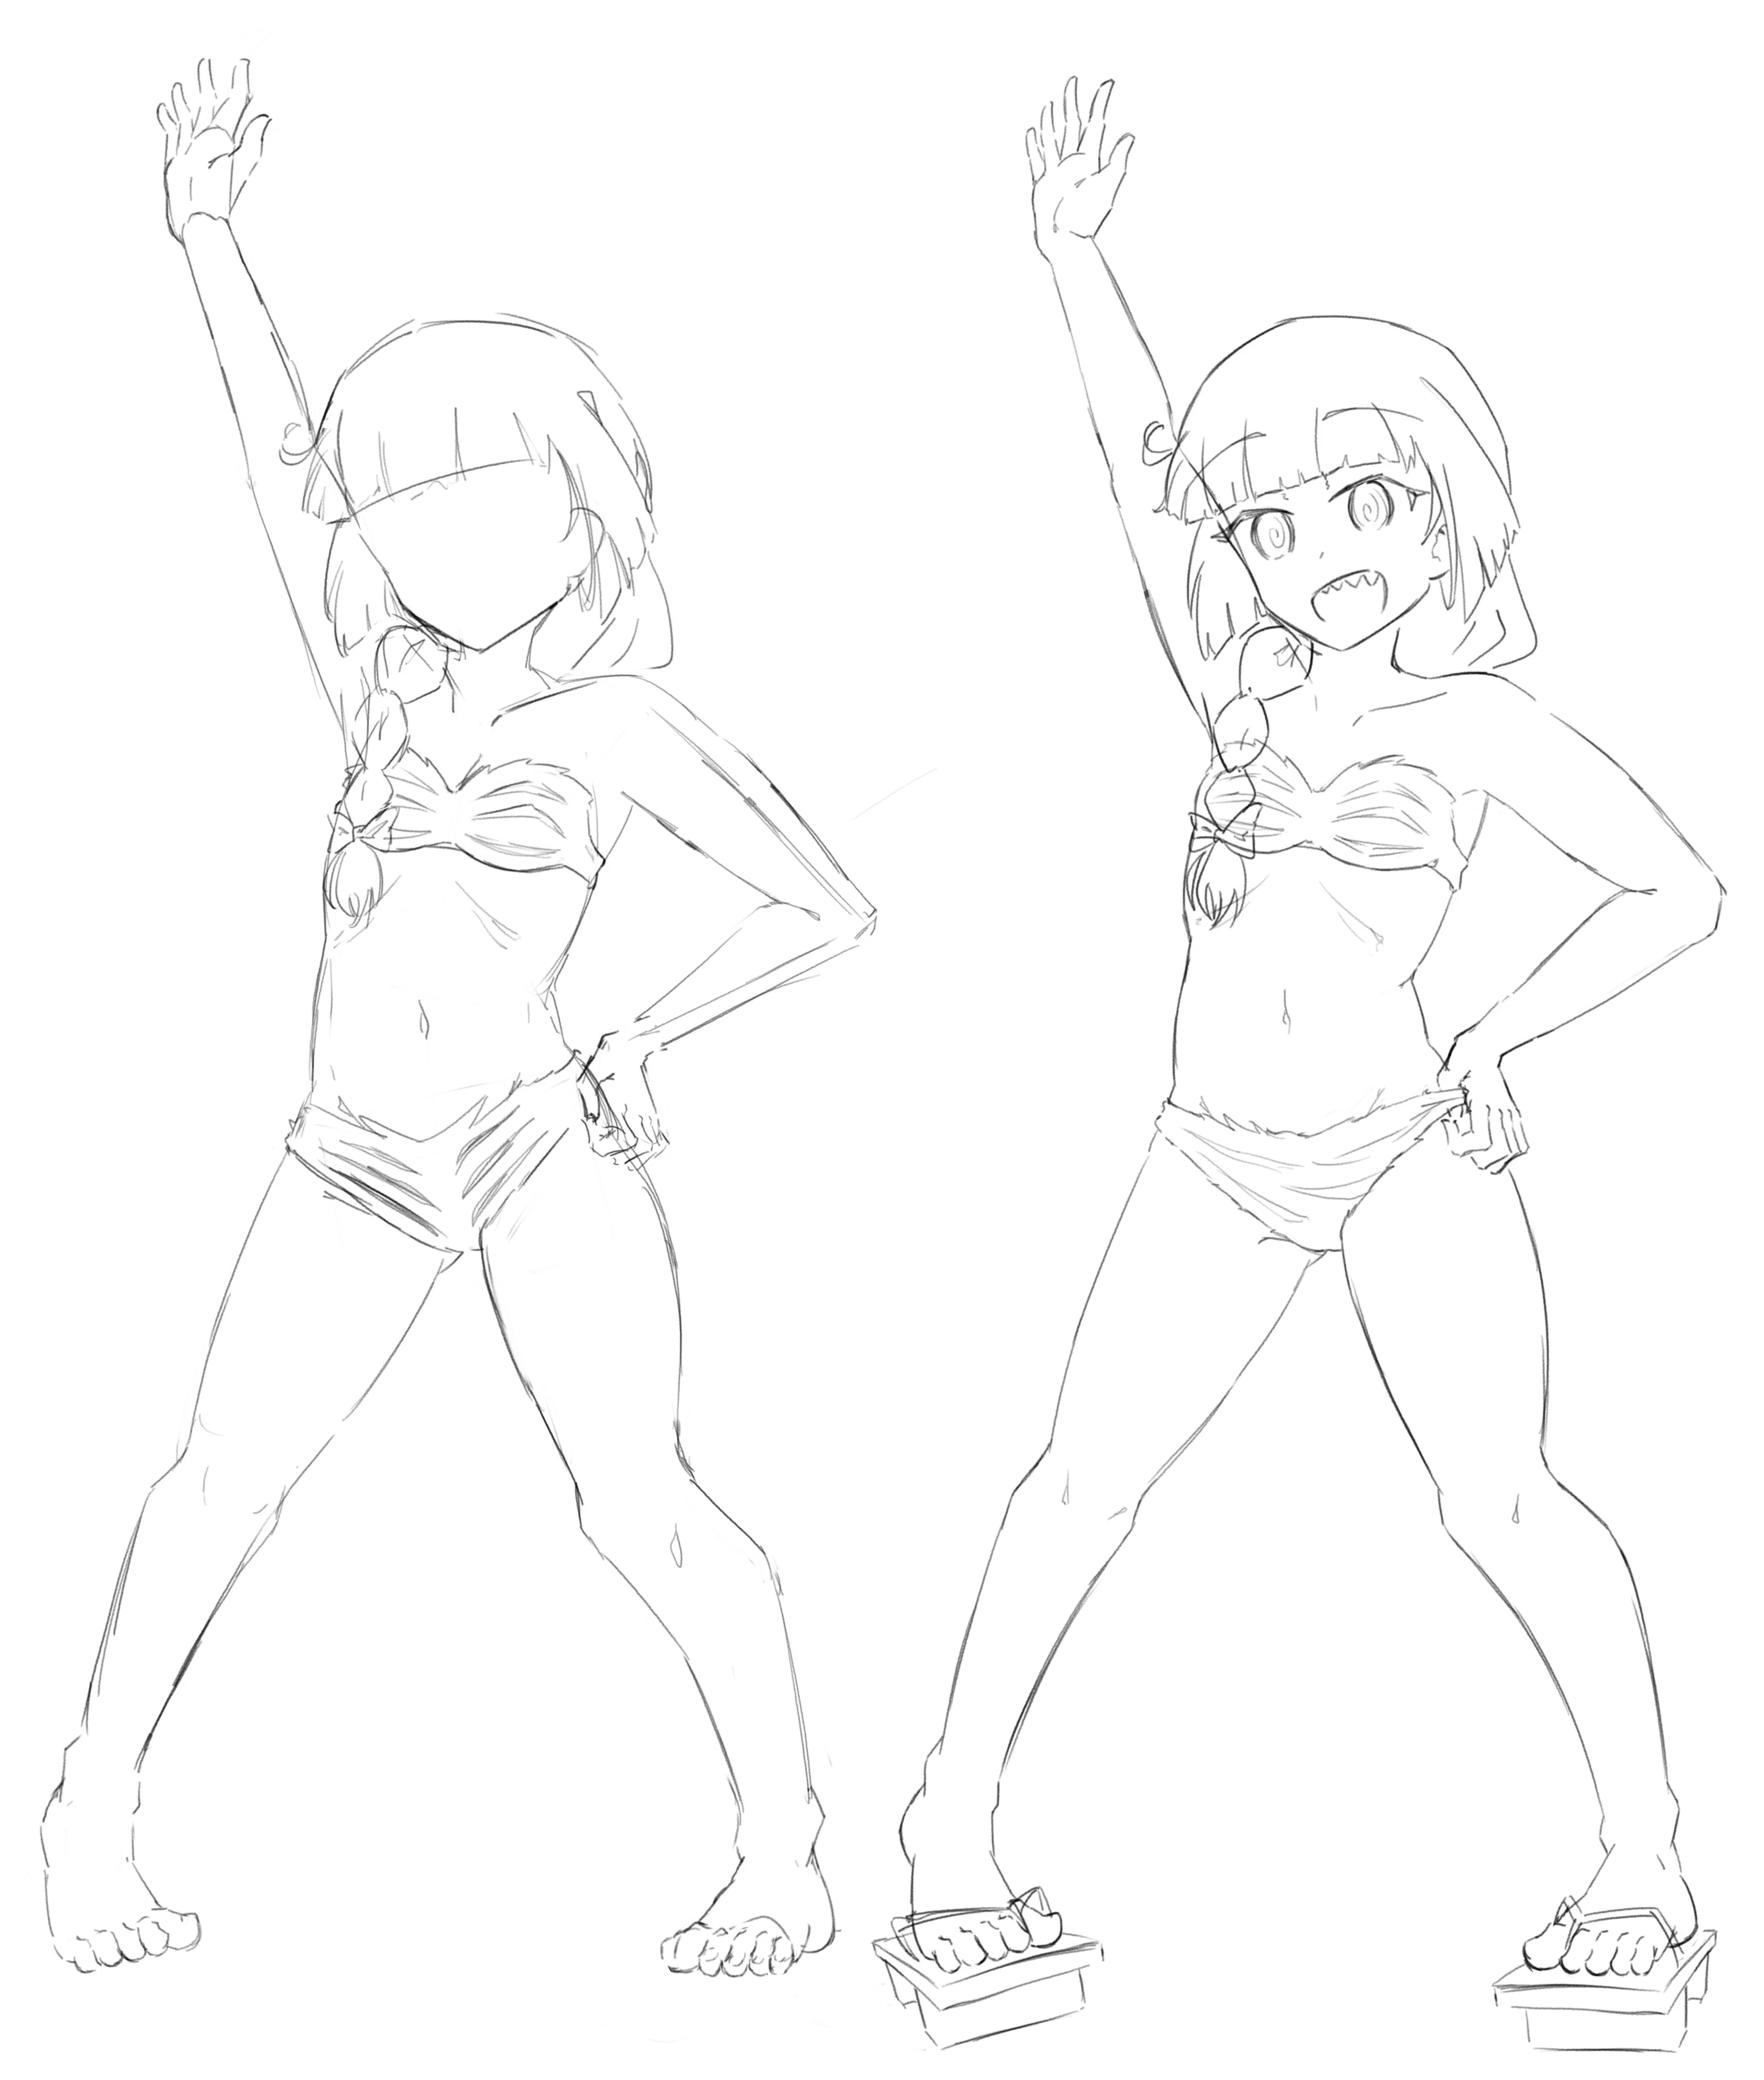
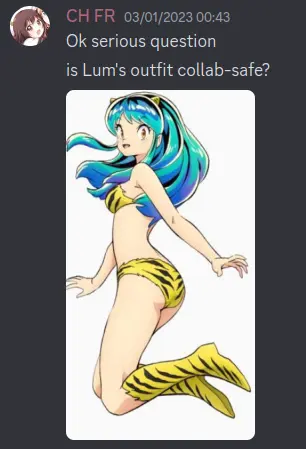
With me in charge of this part, there wouldn’t be a single idea that DOESN’T involve putting someone in Lum’s bikini.